How to Build Finger Strength Without Getting Injured
Finger strength grows slowly. Tendons and ligaments adapt much slower than muscle. That gap is where most injuries live. You can add muscle in weeks, but your finger tendons may need months to catch up.
Finger strength comes from two places: the muscles in your forearm that move your fingers, and the connective tissue in your hands. Gripping a bar, a hold, or a hangboard loads both. The tissue that connects muscle to bone is called a tendon. The tissue that connects bone to bone is a ligament. Both get stronger with load, but only if the load is right.
Here’s the part most guides skip. Soreness in your fingers isn’t always a sign you worked hard. A dull ache in the belly of the forearm is usually fine. A sharp pinch at the base of a finger, or pain that lingers the next morning, is not. That difference is worth more than any training plan.
This article walks through how finger strength actually builds, the main training options, a one-minute self-check, a comparison of common methods, limits, when to see a pro, and how to care for your hands. The goal is simple: get stronger without wrecking your fingers.
Key Takeaways
- What Finger Strength Really Is and How It Works: Finger strength is your ability to hold force through your fingers without the tissue failing.
- Main Training Options and How to Choose: There are three common ways to train finger strength: hangboarding, grip trainers, and climbing itself.
- A One-Minute Check Before You Buy or Train: Before you spend money or start a plan, test how your fingers handle load right now.
- Half Crimp vs Open Hand: What People Confuse: The grip position you use changes which tissue gets loaded. The half crimp and the open hand are the two you’ll hear about most.
- What Finger Training Can’t Do: Finger training builds strength and tissue resilience. It won’t fix poor technique, and it won’t make up for a bad warm-up.
- When to Retire Gear and When to See a Pro: If your training involves life-safety gear — a hangboard mounted overhead, a climbing harness, ropes, carabiners, or slings — inspection matters.
Recommended Products for Finger Strength Training


What Finger Strength Really Is and How It Works
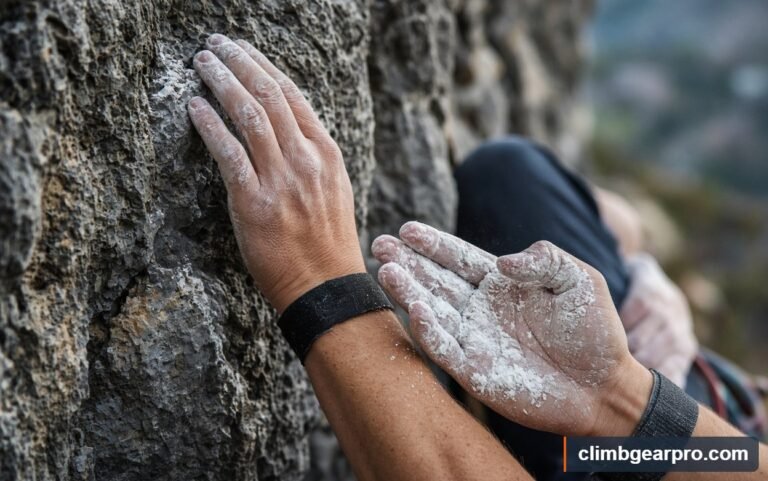
Finger strength is your ability to hold force through your fingers without the tissue failing. That force travels from the fingertips, through the tendons, into the forearm muscles. When you train it, you’re loading a chain, not a single part.
Two terms come up a lot. Isometric means you hold a position without moving — like hanging still from a bar. Eccentric means you lower or lengthen under load — like slowly opening your hand against resistance. Both build strength, but they stress tissue differently.
The key idea is progressive overload. You make tissue stronger by asking it to do slightly more than it’s used to, then letting it recover. Too little and nothing changes. Too much and the tissue tears. The safe zone sits in a narrow band, and it moves as you get stronger.
If you climb or train grip, one safety standard is worth knowing. Climbing hardware like carabiners is tested to UIAA standards, and the UIAA 121 standard covers climbing harnesses. That’s about gear, not your hands — but it shows how seriously the sport treats load limits. For your fingers, the “limit” is your own tissue, and it’s far less forgiving.
Main Training Options and How to Choose
There are three common ways to train finger strength: hangboarding, grip trainers, and climbing itself. Each has a trade-off.
Hangboarding uses a fixed board with edges of set depth. It’s precise and easy to measure progress. The downside is that it’s easy to overload, because you can add weight fast.
Grip trainers are handheld devices you squeeze. They’re cheap and portable. The problem is they train crushing grip, which is only part of finger strength, and they rarely match real movement.
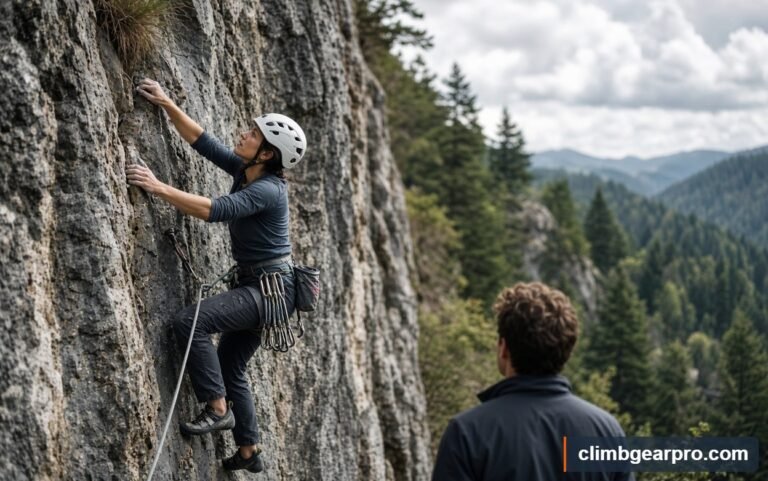
Climbing loads your fingers in many positions at once. It’s the most specific option. But the load is unpredictable, which makes it harder to control.
A cheap gripper is perfectly fine if your goal is general hand strength for daily life. If your goal is climbing-specific finger strength, a hangboard gives you more control. Start with bodyweight hangs before adding any weight.
A One-Minute Check Before You Buy or Train
Before you spend money or start a plan, test how your fingers handle load right now. This check tells you whether to start easy or hold off.
- Warm up your hands for 2 minutes — open and close them, shake them out.
- Find an edge about 20 mm deep, or the edge of a sturdy table.
- Hang or press with both hands for 10 seconds at easy effort.
- Note any sharp pain, pinching, or clicking in the fingers.
- If you feel a sharp pinch, stop and rest. If it’s just a mild stretch, you’re ready to start light.
If the 10-second hold feels clean, begin with easy bodyweight hangs. If it hurts, don’t train through it — see a professional, which this article covers later.
Half Crimp vs Open Hand: What People Confuse
The grip position you use changes which tissue gets loaded. The half crimp and the open hand are the two you’ll hear about most. They aren’t the same, and mixing them up is a common source of strain.
| Feature | Half Crimp | Open Hand |
|---|---|---|
| Finger joint angle | Bent at middle joint | Nearly straight |
| Main load on | Tendons and pulleys | Tendons and forearm |
| Injury risk | Higher with heavy load | Lower for most people |
| Strength gained | High for crimpy holds | Good all-round |
| Best for | Advanced, controlled hangs | Beginners, daily training |
| Warm-up need | Longer | Shorter |
If you’re new to finger training, start with the open hand. It loads the tissue more evenly and is easier to recover from. If you’re experienced and train on small edges, the half crimp builds specific strength — but only after a long warm-up and with light load at first.
What Finger Training Can’t Do
Finger training builds strength and tissue resilience. It won’t fix poor technique, and it won’t make up for a bad warm-up. Those are separate skills.
Marketing often overreaches here. Some devices promise “iron grip” in days. Tissue doesn’t adapt that fast. Tendons and ligaments respond over weeks and months, not days. Any product claiming fast finger strength is selling hope, not physiology.
The evidence is also thinner than people assume. Much of what we know about finger tendon adaptation comes from climbing research and sports science, not large controlled trials. That doesn’t mean training doesn’t work. It means the exact “best” protocol isn’t settled, so you should treat any single method as a starting point, not a rule.
When to Retire Gear and When to See a Pro
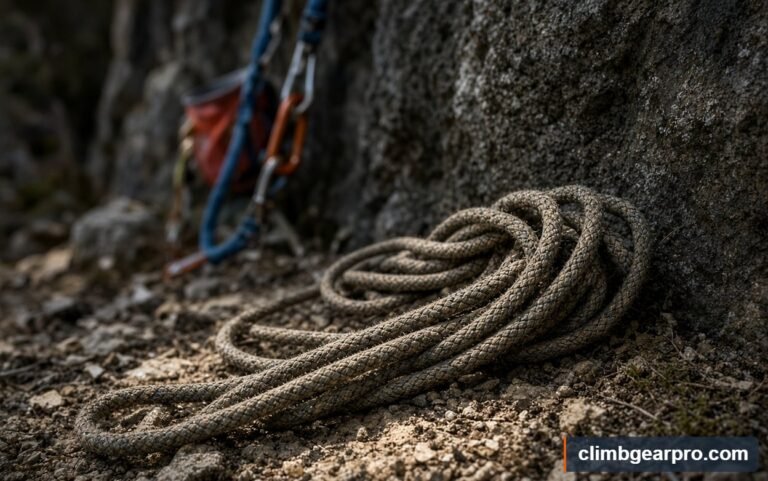
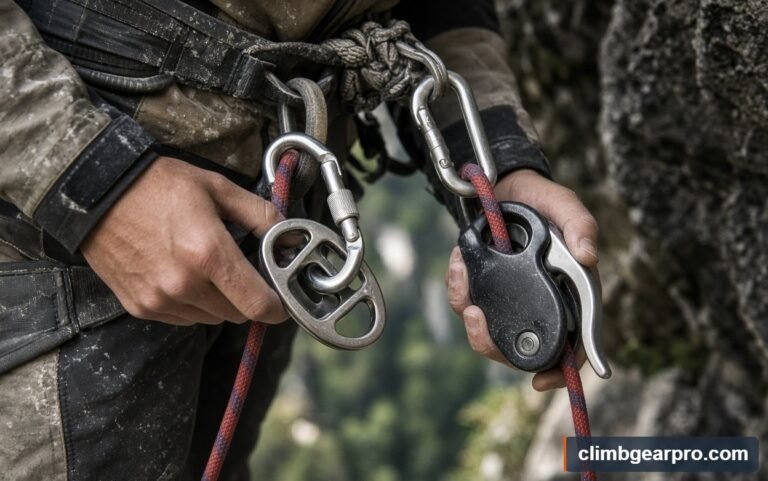
If your training involves life-safety gear — a hangboard mounted overhead, a climbing harness, ropes, carabiners, or slings — inspection matters. A failure here can mean a fall.
Retirement red flags to watch:
- Cuts, deep gouges, or core shots in a rope
- Frayed or fuzzy slings and webbing
- Cracks, deep wear, or a sticky gate on a carabiner
- Rust, corrosion, or bent metal on any connector
- A harness with worn stitching or a faded, damaged belay loop
Manufacturers set their own lifespan guidance, and it varies by product and use. Check the maker’s own instructions for your specific item, because a number from one brand doesn’t apply to another. When in doubt, retire it.
For your own hands, know when to stop guessing. If you have sharp finger pain that lasts more than a few days, a popping sensation, or swelling, see a doctor or a certified hand therapist. For climbing-specific finger issues, a certified climbing instructor or a sports physiotherapist can assess your load and technique. A blog can’t examine your hand.
How to Train and Care for Your Fingers
Good finger training is boring on purpose. You do the same safe movements, add load slowly, and rest enough. Here’s how to run it.
Warm up for 10 minutes. Start with easy movement, then light hangs. Cold tissue tears more easily.
Train 2 to 3 times a week. Give at least one full rest day between sessions. More isn’t better here.
Start with bodyweight hangs. Use an edge about 20 mm deep. Hang for 10 seconds, rest for 50 seconds, and repeat 5 times. That’s one set.
Add weight slowly. Once bodyweight hangs feel easy for 2 weeks, add 2.5 kg (about 5 lb) at a time. Never jump.
Cool down and stretch. Open and close your hands, then gently stretch the forearm.
For care and storage, keep it simple. Clean your hangboard with a damp cloth, not harsh chemicals. Store grip trainers and any slings or webbing away from sunlight and heat, because UV and heat break down synthetic fibers over time. Check your gear before every session, not once a month.
FAQ
How long does it take to build finger strength?
Expect weeks before you notice real change, and months for solid tissue adaptation. Tendons and ligaments are slower than muscle. Don’t rush the load.
Is hangboarding safe for beginners?
It can be, if you start with bodyweight hangs on a deep edge and warm up well. Many coaches suggest building general strength first. If your fingers hurt, stop.
Should I train fingers every day?
No. Two to three sessions a week with rest days between is a common approach. Daily heavy loading gives tissue no time to recover.
Do grip trainers build finger strength?
They build crushing grip, which is one part of it. For climbing-specific strength, a hangboard or climbing itself works better.
What’s the difference between a half crimp and an open hand?
The half crimp bends the middle joint and loads the pulleys more. The open hand keeps fingers straighter and is gentler for most people.
Can I train fingers with sore hands?
Mild forearm soreness is usually fine. Sharp finger pain, swelling, or a lingering ache is not. Rest and get it checked.
How much weight should I add to hangs?
Add about 2.5 kg (5 lb) at a time, and only after bodyweight hangs feel easy for 2 weeks. Small steps protect the tissue.
When should I see a doctor for finger pain?
If pain lasts more than a few days, or you feel a pop or see swelling, see a doctor or hand therapist. Don’t train through it.
Does finger strength help in daily life?
Yes. Grip strength is linked to general hand function, and it helps with carrying, opening, and holding things. Train it gently and it pays off.
How do I store my gear?
Keep slings, webbing, and ropes out of sunlight and heat. Clean hangboards with a damp cloth. Check everything before each session.
The Bottom Line
Build finger strength slowly, with bodyweight hangs first and small weight increases over weeks. Warm up every session, rest between them, and treat sharp pain as a stop sign, not a challenge. The open hand is the safer starting position; the half crimp comes later.
The single most important takeaway: your tendons adapt slower than your muscles, so the plan that protects you is the one that adds load gradually and lets you recover. If you use life-safety gear, inspect it every time and check the maker’s own lifespan guidance. When pain or doubt shows up, that’s your cue to see a pro — not to push harder.
Two rules cover most of the decisions you’ll face. If a hang feels hard but clean, hold the plan and add weight next week. If the same weight that felt easy last month now feels heavy, or you wake with stiff fingers, cut the load in half and give it a week before climbing back.
The mistake that costs the most is adding weight because a session felt easy, then training through the ache for a few more weeks. By the time the pain is sharp, you’re looking at months off, not days. Progress that survives is boring on purpose.