
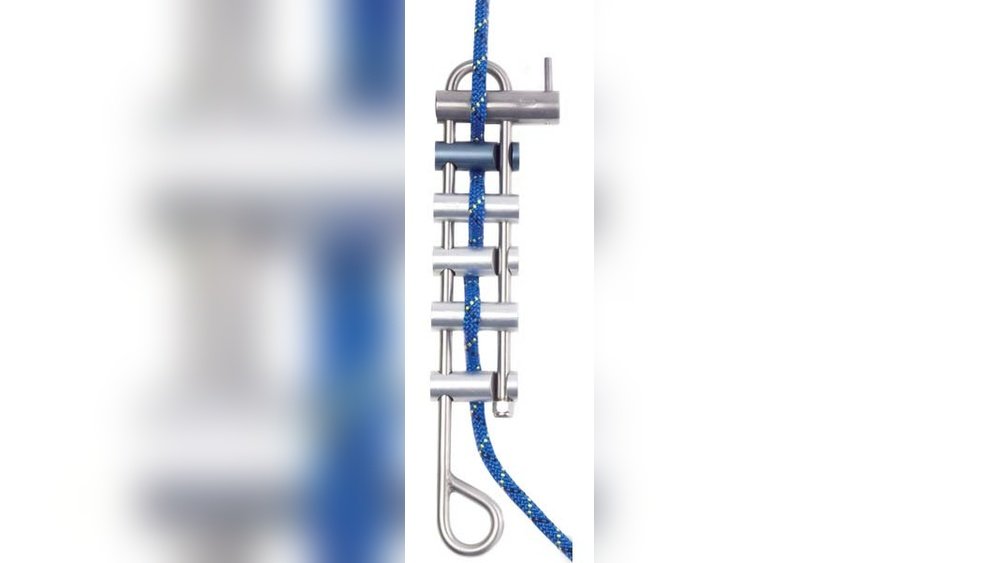
Rappel Rack: Essential Guide for Safe and Smooth Descents
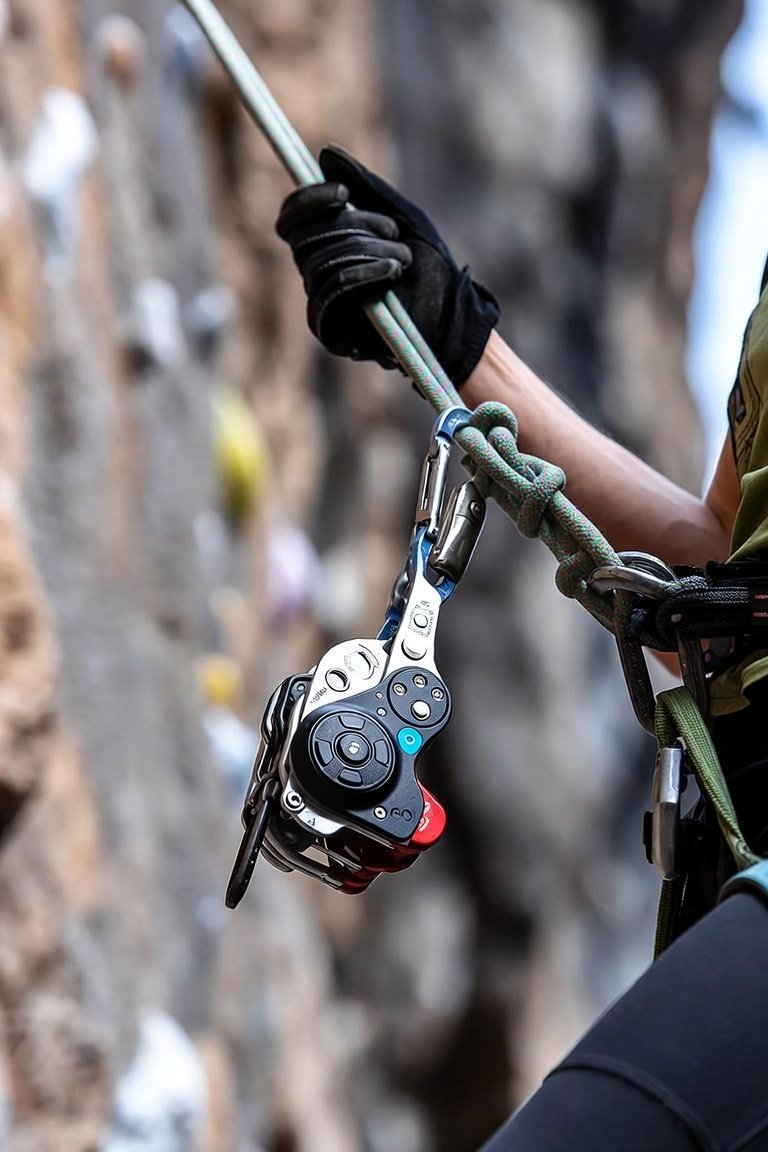
Rappelling down cliffs or deep caves can be thrilling, but it’s also dangerous if you don’t use the right gear. One tool that makes a big difference in safety and control is the rappel rack. If you’re new to caving, canyoneering, or rescue work, you might have seen these metal frames and wondered what makes them special. This guide will help you understand what a rappel rack is, how it works, why it matters, and how to use it safely. You’ll also see how it compares to other descending devices, learn about different types, and get practical advice for choosing and maintaining your rack.
Key Takeaways
- What Is A Rappel Rack?
- How Does A Rappel Rack Work?
- Types Of Rappel Racks
- Advantages Of Using A Rappel Rack
- Disadvantages And Common Challenges
- How To Use A Rappel Rack Safely
On this page
- What Is A Rappel Rack?
- How Does A Rappel Rack Work?
- Types Of Rappel Racks
- Advantages Of Using A Rappel Rack
- Disadvantages And Common Challenges
- How To Use A Rappel Rack Safely
- Rappel Rack Vs. Other Descending Devices
- Choosing The Right Rappel Rack
- Rappel Rack Maintenance
- Practical Tips And Advanced Techniques
- Real-world Examples And Statistics
- Frequently Asked Questions
- Final Thoughts
Recommended Products for Rappel Racks


What Is A Rappel Rack?
A rappel rack is a device used to control your speed while descending a rope. It’s made from a metal frame and several metal bars (usually stainless steel), which are attached to the frame. The bars can move or be fixed, depending on the design. When you thread the rope through the rack, it creates friction as you descend. You can adjust the friction by changing how many bars the rope touches, giving you precise control over your speed.
Rappel racks are common in caving, canyoneering, and technical rescue because they handle long drops, thick ropes, and heavy loads better than simpler devices. They are especially useful for descents over 100 feet (30 meters), where rope heating and friction become serious issues.
How Does A Rappel Rack Work?
The basic idea is simple: the rope weaves through the bars of the rack. As you pull the rope through, each bar adds friction. This friction slows your descent, letting you control your speed with one hand. If you want to go slower, you can make the rope touch more bars or squeeze the rope tighter. If you want to go faster, you can release some friction by letting the rope touch fewer bars.
Here’s how the process works:
- Setup: Attach the rack to your harness and thread the rope through the bars according to the manufacturer’s instructions.
- Friction Control: Adjust the bars (if they are movable) so the rope touches more or fewer bars for more or less friction.
- Descent: Use your brake hand to control the rope. More friction means slower descent; less friction means faster.
- Stop: If you need to stop, squeeze the rope or wrap it around extra bars.
One non-obvious insight: racks are much better at handling thick or wet ropes than devices like figure eights, which can slip or get hot quickly. Also, racks reduce rope twist, which is important for safety and rope longevity.
Types Of Rappel Racks
There are several types of racks, each designed for specific needs. Choosing the right one depends on your activity, rope size, and descent length.
Standard Rappel Rack
This is the most common type, with a U-shaped frame and 5–6 bars. The bars are usually straight and spaced evenly. Standard racks are good for general caving and rescue work.
Micro Rack
Micro racks are smaller, lighter, and often have only 4–5 bars. They are ideal for canyoneering or situations where weight matters. Micro racks are best for thinner ropes or shorter descents.
Double Racks
Double racks have two parallel frames, each with its own set of bars. You thread the rope through both sides, which spreads friction more evenly. Double racks are used for heavy loads, large ropes, or very long drops.
Fixed Bar Racks
Some racks have bars that don’t move. This makes setup quicker but reduces your ability to adjust friction during descent. Fixed bar racks are used when consistency is more important than flexibility.
Comparison Table: Rack Types
Here’s a simple table comparing the main rack types:
| Rack Type | Number of Bars | Weight | Best Use | Adjustability |
|---|---|---|---|---|
| Standard Rack | 5–6 | Medium | Caving, Rescue | High |
| Micro Rack | 4–5 | Low | Canyoneering | Medium |
| Double Rack | 10–12 | High | Heavy Loads | Very High |
| Fixed Bar Rack | 5–6 | Medium | Consistent Descent | Low |
Advantages Of Using A Rappel Rack
Why do so many experts prefer racks over other descending devices? Here are the main benefits:
- Adjustable Friction: You can change how much friction you get during the descent. This is not possible with devices like figure eights.
- Heat Dissipation: Racks spread heat over several bars, so the rope and device don’t get dangerously hot.
- Long Rope Compatibility: Racks work well with thick and long ropes, which are common in deep caves and rescue situations.
- Less Rope Twist: The design reduces rope twisting, which makes descents smoother and protects your rope.
- Safety: If you need to stop quickly, you can add friction by wrapping the rope around more bars.
A non-obvious insight: racks are less likely to jam or bind, even with muddy or wet ropes, because the bars can move and the frame is open. This makes them more reliable in harsh environments.
Disadvantages And Common Challenges
While racks are powerful, they are not perfect. Here are some drawbacks and issues to watch for:
- Learning Curve: Racks require practice to use safely. Incorrect threading or poor friction control can lead to accidents.
- Bulk and Weight: Standard and double racks are heavier and bulkier than other devices, making them less ideal for lightweight trips.
- Setup Time: Threading the rope through multiple bars takes longer, especially if you’re in a hurry or under stress.
- Bar Loss: Some racks have removable bars, which can fall out and get lost if not secured properly.
Beginners often miss that racks can be noisy if the rope rubs against metal. Also, not all racks work with every rope diameter—using the wrong combination can make descending unsafe.
How To Use A Rappel Rack Safely
Using a rappel rack safely starts with proper setup and technique. Here’s a step-by-step guide:
- Inspect Your Rack: Check for damage, cracks, or loose bars before every use.
- Attach to Harness: Use a locking carabiner to attach the rack to your harness. Make sure the carabiner is closed and locked.
- Thread the Rope: Follow the manufacturer’s instructions. Usually, the rope enters from the top, weaves through each bar, and exits at the bottom.
- Check Friction: Before starting, test the friction by pulling the rope. Adjust bars if needed.
- Begin Descent: Keep your brake hand below the rack. Use your other hand to control the rack and adjust bars if necessary.
- Monitor Speed: Adjust friction during descent by adding or removing bars.
- Stop Safely: If you need to stop, wrap the rope around extra bars or squeeze it tightly.
Common Mistakes To Avoid
- Incorrect Threading: If the rope is threaded wrong, friction may be too low or too high, increasing risk.
- Loose Bars: Always secure removable bars. Lost bars can make the rack unusable.
- Inadequate Friction: Test the setup before descending. Too little friction can lead to uncontrolled descent.
- Overloading: Don’t use racks on ropes thicker or thinner than recommended. It can cause slipping or jamming.
Rappel Rack Vs. Other Descending Devices
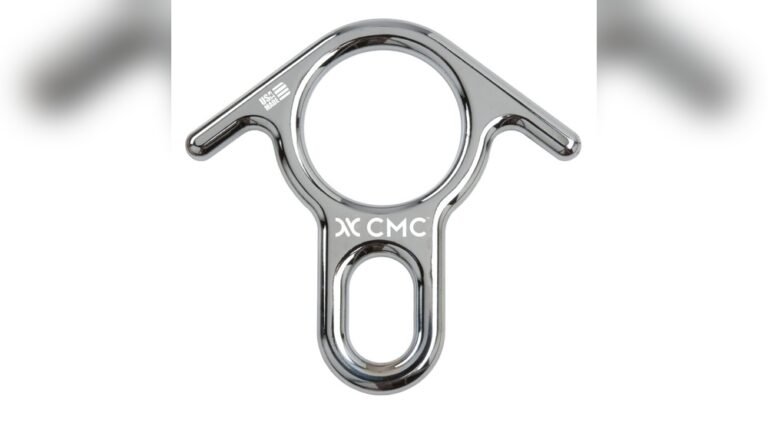
Many people wonder why racks are better than devices like figure eights, ATCs, or descenders. Here’s a clear comparison:
| Device | Friction Adjustability | Heat Management | Rope Twist | Weight | Best For |
|---|---|---|---|---|---|
| Rappel Rack | High | Excellent | Low | Medium/High | Long Descents |
| Figure Eight | Low | Poor | High | Low | Short Descents |
| ATC | Medium | Average | Medium | Low | Sport Climbing |
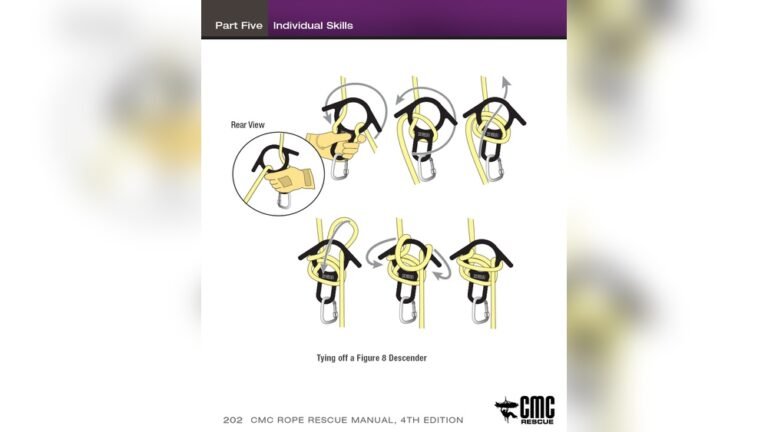
| Descender | Medium | Average | Medium | Low/Medium | General Use |
Racks are the best choice for long, vertical drops and heavy loads. Figure eights and ATCs are easier to use but not as good for heat or friction management. For caving and rescue, racks are preferred by professionals.
Choosing The Right Rappel Rack
If you’re buying your first rack, here are key factors to consider:
- Activity Type: Are you caving, canyoneering, or doing rescue work? Deep caves need standard or double racks; canyoneering may use micro racks.
- Rope Diameter: Check the rack’s compatibility with your rope. Standard racks handle thicker ropes; micro racks are for thinner ropes.
- Weight and Size: If you hike long distances, lighter racks are better. For short access, weight is less important.
- Adjustability: Movable bars allow you to change friction, which is valuable for varied descents.
- Durability: Stainless steel racks last longer and resist corrosion. Aluminum racks are lighter but wear out faster.
Comparison Table: Rack Features
Here’s a quick look at features to help you choose:
| Feature | Standard Rack | Micro Rack | Double Rack | Fixed Bar Rack |
|---|---|---|---|---|
| Weight | Medium | Low | High | Medium |
| Bar Adjustability | High | Medium | Very High | Low |
| Durability | High | Medium | High | High |
| Rope Compatibility | Wide | Narrow | Wide | Wide |
Rappel Rack Maintenance
Proper maintenance keeps your rack working safely and extends its life. Here’s how to care for your rack:
- Clean After Use: Wash off mud, sand, and debris after every trip. Dry thoroughly to prevent rust.
- Inspect Bars: Check for wear, cracks, or sharp edges. Replace bars if they are damaged.
- Lubricate Movable Parts: Use a small amount of silicone-based lubricant on movable bars. Avoid oil-based products, which can attract dirt.
- Store Properly: Keep your rack in a dry, cool place. Avoid storing with wet ropes or other metal gear to prevent corrosion.
- Check Fasteners: Make sure screws and bolts are tight. Loose fasteners can cause bars to fall out.
A non-obvious tip: use a soft brush (like a toothbrush) to clean hard-to-reach areas. Also, avoid using harsh chemicals, which can damage metal.
Practical Tips And Advanced Techniques
If you want to get more from your rack, try these expert tips:
- Double Rope Technique: For faster descents, thread two ropes through the rack. This spreads friction and reduces rope wear.
- Variable Bar Setup: Start with more bars for maximum friction, then remove bars mid-descent as rope gets cleaner or you need less friction.
- Backup Safety: Always use a prusik knot or other backup when descending, especially in unfamiliar areas.
- Bar Replacement: Carry spare bars if your rack uses removable bars. Losing a bar during descent can be dangerous.
- Rope Compatibility: Test your rack with all rope sizes you plan to use. Different ropes behave differently with friction.
One advanced insight: racks can be used for ascending in emergencies, though this is not their main purpose. Learning how to reverse your descent safely can help in rescue situations.
Real-world Examples And Statistics
Rappel racks are used by professional cave explorers, rescue teams, and canyoneers worldwide. For example:
- In the Mammoth Cave System (Kentucky), racks are used for descents up to 200 feet, with ropes as thick as 11mm.
- Rescue teams in the US report that racks reduce rope heating by up to 40% compared to figure eights, lowering the risk of rope failure.
- In canyoneering, racks are chosen for drops over 100 feet because they allow smoother, safer descents.
According to the National Cave Rescue Commission, racks are involved in less than 1% of rope-related accidents when used properly. This shows their reliability and safety.
Frequently Asked Questions
What Is The Main Purpose Of A Rappel Rack?
The main purpose of a rappel rack is to control your descent speed on a rope by creating adjustable friction. This makes long or steep descents safer and prevents rope overheating.
How Do I Choose The Right Number Of Bars For My Rack?
Choose more bars for thicker ropes and longer descents, and fewer bars for thinner ropes or short drops. Most racks have 5–6 bars, but micro racks may have only 4. Always check manufacturer guidelines for your rope size.
Can I Use A Rappel Rack For Ascending?
While racks are designed for descending, they can be used for ascending in emergencies if you combine them with a prusik knot or other climbing aids. However, this is not recommended for regular use.
What Are Common Mistakes When Using A Rappel Rack?
Common mistakes include incorrect rope threading, not securing removable bars, using the wrong rope size, and failing to test friction before descent. Avoid these by practicing and following safety checks.
How Do I Maintain My Rappel Rack?
Clean your rack after each use, inspect for damage, lubricate moving parts with silicone-based products, and store it dry. Replace bars or parts if you see wear or cracks.
Final Thoughts
A rappel rack is a smart investment if you want safe, smooth, and controlled rope descents. Whether you’re exploring deep caves, rappelling cliffs, or involved in rescue work, racks offer adjustability, reliability, and durability. Remember to choose the right type for your needs, practice safe setup and descent, and keep your gear well maintained. With the right knowledge and preparation, you’ll enjoy safer adventures and protect your equipment for years to come. For more technical details and safety standards, you can visit the Wikipedia page on racks.
One Comment