How to Coil a Climbing Rope: 3 Easy Methods That Work
A tangled rope costs you time at the base of every route. Worse, a badly stored rope can pick up grit, get cut by sharp edges, or wear out years early. So the real question isn’t just how to make it look neat — it’s how to coil it so it stays clean, opens fast, and lasts.
Here’s the good news: coiling a climbing rope is simple once you know the pattern. All three main methods — the butterfly coil, the mountaineer’s coil, and the lap coil — use the same basic idea. You make loops, then tie them off so the rope can’t unroll. The loops just sit in different places.
One thing most guides get wrong: they treat coiling as a storage method. It isn’t. A tight coil puts the rope under tension and traps moisture. For long-term storage, you want loose loops, not a packed bundle. Coil it for the walk-in, then hang it open when you get home.
This guide covers the three methods, when to use each one, a 30-second check that tells you if your rope is due for retirement, and the mistakes that quietly damage ropes.
Key Takeaways
- What Coiling Really Does and Why It Matters: A climbing rope is built from a core of twisted nylon strands inside a woven sheath.
- The Three Main Coiling Methods: Each method suits a different situation. The butterfly coil is the one most climbers carry to the crag.
- The 30-Second Rope Check: Before you coil anything, run your hands along the whole rope.
- Butterfly Coil vs. Mountaineer’s Coil: What’s the Difference?: People mix these two up all the time. They look similar when finished, but the loop direction is different, and that changes how the rope carries.
- What Coiling Can’t Fix: A neat coil won’t save a damaged rope. It won’t undo core shots, sheath cuts, or the damage from a rope that sat in a hot car for a summer.
- When to Retire a Rope and When to Get Help: Ropes are life-safety gear, so the rules are stricter than for most equipment.
Recommended Products for Rope Storage
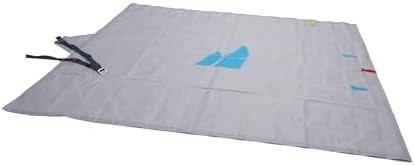
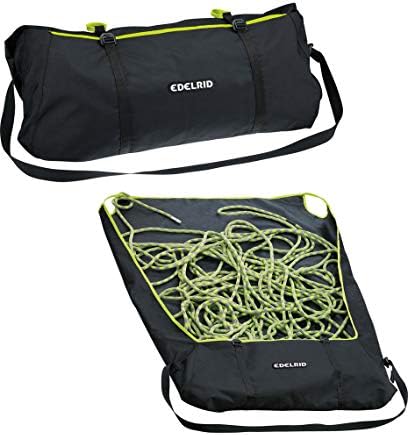
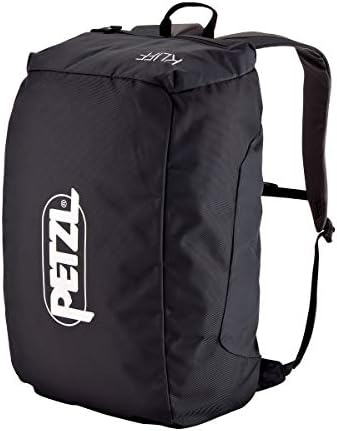


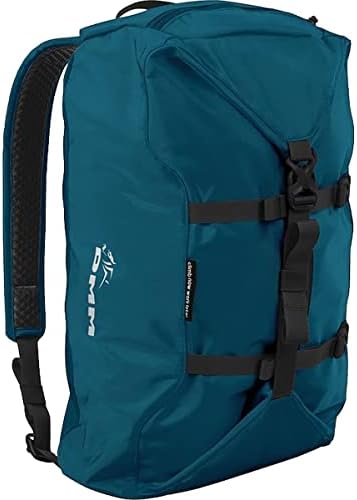

What Coiling Really Does and Why It Matters
A climbing rope is built from a core of twisted nylon strands inside a woven sheath. The sheath takes the abrasion. The core takes the load. Every time you bend the rope, you’re asking both layers to flex together.
When you coil a rope, you’re not just tidying it. You’re controlling how it bends. Sharp bends and tight knots put stress on individual fibers. Loose, even loops spread that stress out. That’s the whole game.
The other job is keeping the rope clean and dry. Dirt works its way into the sheath and grinds against the core from the inside. Moisture does its own damage over time. A coil that keeps the ends off the ground helps with both.
Ropes sold in the US often carry a UIAA safety label. The UIAA 101 standard covers dynamic ropes and sets requirements for impact force, number of falls held, and elongation. You’ll see this on the label or the packaging. It tells you the rope passed a real test, not a marketing claim.
One term worth knowing: the “middle mark.” Many ropes have a mark or a color change at the exact midpoint. It helps with rappels and with finding the center fast. If your rope has one, keep it visible when you coil.
The Three Main Coiling Methods
Each method suits a different situation. The butterfly coil is the one most climbers carry to the crag. The mountaineer’s coil goes over your shoulder for a long approach. The lap coil is the quick one you use at the car or in a gym.
Here’s how they compare:
| Method | Best for | Carry style | Speed | Untangles easily? |
|---|---|---|---|---|
| Butterfly coil | Sport crags, short approaches | Backpack or over shoulder | Medium | Yes |
| Mountaineer’s coil | Long approaches, alpine | Over shoulder and across chest | Slower | Yes |
| Lap coil | Gym, car, quick tidy | Hand carry or bag | Fast | Sometimes |
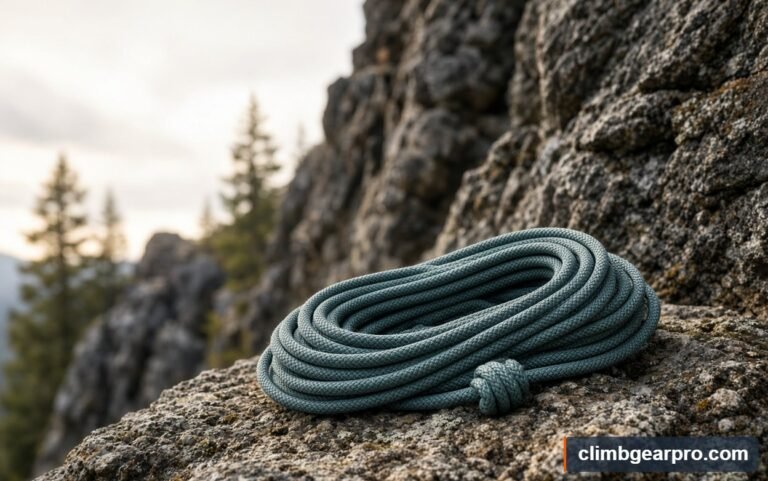
The butterfly coil is the standard for a reason. You hold the middle of the rope and pull successive loops over your hands, then wrap the middle and pass a bight through. It sits flat, carries well, and opens without knots.
The mountaineer’s coil adds a twist: you make the loops in the same direction and carry the bundle over your shoulder. It takes longer, but on a two-hour approach your shoulders will notice the difference.
The lap coil is the lazy option, and that’s fine. You loop the rope around your knee and hand, tie it off, and go. It’s not as tidy, and it can tangle if you rush. For a gym session, it’s plenty.
Which One Should You Pick?
If you’re walking less than 15 minutes to the crag, the butterfly coil is the best choice. It’s fast enough and carries clean.
If your approach is longer than that, or you’re heading into alpine terrain, use the mountaineer’s coil. The shoulder carry spreads the weight and keeps your hands free.
If you’re just moving from the car to the gym wall, the lap coil is fine. Don’t overthink it.
A cheaper rope doesn’t change any of this. An inexpensive rope and a pricier rope coil the same way. Spend the extra money on diameter and dry treatment, not on coiling convenience.
The 30-Second Rope Check
Before you coil anything, run your hands along the whole rope. This takes under a minute and it’s the single most useful habit you can build.
- Start at one end and feed the rope through your hands, about an arm’s length at a time.
- Feel for soft spots, flat sections, or places where the sheath feels thin.
- Look for fuzzy patches, cuts, or spots where the core shows through the sheath.
- Check both ends for fraying near the tie-in point.
- If you find a soft or flat spot, mark it and stop using that section.
A rope with a soft spot in the core is done. You can’t see the damage from outside, but the strength is gone. Retire it.
If the rope passes the check, coil it. If it fails, don’t coil it — cut it up for other uses or throw it away.
Butterfly Coil vs. Mountaineer’s Coil: What’s the Difference?
People mix these two up all the time. They look similar when finished, but the loop direction is different, and that changes how the rope carries.
| Feature | Butterfly coil | Mountaineer’s coil |
|---|---|---|
| Loop direction | Alternating direction | Same direction each time |
| Carry position | Backpack or single shoulder | Over shoulder, across chest |
| Setup time | About 1–2 minutes | About 2–4 minutes |
| Kinking risk | Low | Very low |
| Best terrain | Sport, single-pitch | Alpine, long approach |
| Untie speed | Fast | Fast |
Choose the butterfly coil for everyday cragging. It’s quicker and the flat bundle packs well.
Choose the mountaineer’s coil when you’ll carry the rope on your body for a long time. The alternating loops sit flatter against your shoulder and don’t dig in.
Neither one is “better.” They solve different problems.
What Coiling Can’t Fix
A neat coil won’t save a damaged rope. It won’t undo core shots, sheath cuts, or the damage from a rope that sat in a hot car for a summer. Coiling is maintenance, not repair.
Marketing pushes “rope bags” and “coiling systems” hard. Some are genuinely useful. A rope bag keeps the rope out of the dirt, which really does extend its life. But no bag or strap makes a worn rope safe again.
The evidence on rope lifespan is also thinner than people assume. Manufacturers give guidance, but there’s no single test that tells you a rope is done. Visual inspection and feel are still the main tools. That’s why the 30-second check matters more than any gadget.
Be honest about what you don’t know. If a rope has taken a big fall, or you can’t remember its history, treat it as suspect.
When to Retire a Rope and When to Get Help
Ropes are life-safety gear, so the rules are stricter than for most equipment. Here are the red flags:
- A soft, flat, or mushy section anywhere along the length.
- Sheath damage where you can see the core.
- Cuts, glazing, or melted spots from friction.
- Stiffness or discoloration from chemical contact.
- A rope that took a severe fall over an edge.
- Unknown history — you don’t know how old it’s or what it’s been through.
Manufacturers typically give a maximum lifespan in years, often around 10 for a rope in good condition with light use. Check your rope’s own manual or the maker’s website, because the number varies by brand and by how hard you use it.
Retirement isn’t a repair job. Once a rope is compromised, it’s done.
For anything beyond inspection — a rope that fails the check, a fall you’re unsure about, a setup you don’t recognize — talk to a certified instructor or guide. They can look at the rope in person and tell you what to do. A blog can’t do that.
How to Coil, Carry, and Store Your Rope
Coiling is one skill. Carrying and storing are the other half. Get all three right and your rope lasts longer and behaves better on the wall.
Coiling Steps (Butterfly Method)
- Find one end of your rope and hold it in one hand.
- Reach out and pull the rope into a loop over your hands.
- Bring the loop back to your hand and hold it.
- Repeat, making each loop the same length, until you reach the other end.
- Wrap the bundle tightly around the middle about 3 times with the tail.
- Pass a bight of the tail through the top wrap and pull it snug.
Carrying
Use a rope bag or a strap for anything longer than a short walk. Carrying a rope over one shoulder for a long approach gets old fast. A bag also keeps the rope off the ground, which is the point.
Storage
Store your rope in loose loops, not a tight coil. Hang it on a wide hook or a rope bag in a cool, dry place. Keep it out of direct sunlight, away from chemicals, and away from heat. Don’t leave it in a hot car.
Cleaning
If your rope gets dirty, wash it in lukewarm water with a mild soap, then rinse well. Don’t use a washing machine or a dryer. Hang it to dry out of the sun. A clean rope handles better and lasts longer.
FAQ
How long does it take to coil a climbing rope?
The butterfly coil takes about 1 to 2 minutes once you know the pattern. The mountaineer’s coil takes 2 to 4 minutes. The lap coil is the fastest, often under a minute. Speed comes with practice.
What’s the best way to coil a rope for storage?
Use loose, even loops and hang the rope on a wide hook. Don’t store it in a tight coil, because tension and trapped moisture shorten its life. Keep it cool, dry, and out of sunlight.
Can I coil a wet rope?
You can, but dry it first if you have the option. A wet rope stored in a tight coil can grow mildew and weaken over time. If you must coil it wet, loosen it and hang it to dry as soon as you can.
How do I stop my rope from tangling when I uncoil it?
Uncoil it the same way you coiled it. Lay it out on the ground and let the loops fall open. Don’t pull it apart fast. If it tangles anyway, shake out the loops one at a time.
Does coiling damage a rope?
Not if you use loose, even loops. Tight, sharp bends and hard knots put stress on the fibers. Keep the loops generous and avoid cinching the middle wrap too hard.
How often should I inspect my rope?
Check it before every use with the 30-second feel test. Do a closer look every few months or after any big fall. Replace it if you find soft spots, cuts, or sheath damage.
What’s the difference between a butterfly coil and a mountaineer’s coil?
The butterfly coil alternates loop direction and carries well in a bag. The mountaineer’s coil uses loops in the same direction and sits flatter over your shoulder. Pick based on how you’ll carry it.
Can I use a rope bag to store my rope long-term?
A rope bag is fine for storage if the rope sits in loose loops and stays dry. Don’t leave a wet rope in a bag. Check it periodically for moisture and dirt.
How do I know if my rope is too old?
Check the manufacturer’s lifespan guidance for your specific rope. Look for soft spots, stiffness, or sheath damage. If you can’t remember its history, retire it.
The Bottom Line
Pick the butterfly coil for everyday cragging and the mountaineer’s coil for long approaches. Both take a couple of minutes to learn and will keep your rope tidy on the walk in. The lap coil is fine for the gym.
The single most important habit is the 30-second check before you coil. Feel the whole rope for soft spots and sheath damage. If it fails, retire it — no coil, bag, or strap makes a worn rope safe again.