Essential Climbing Knots for Beginners: A Simple Guide
You can tie into the rope securely and manage your belay system safely once you have learned the essential climbing knots for beginners. These few loops and hitches provide the foundation for every vertical adventure, from indoor gym sessions to long days at the crag. You don’t need to memorize dozens of complicated variations to start climbing; you only need to master four specific knots that cover 90% of your needs.
Key Takeaways
- How knots work in climbing
- Essential climbing knots for beginners to master
- Choosing your knots
- A quick test for your knots
- The honest limits of knots
- When to retire your gear
- How to use and care for your rope
- The Bottom Line
On this page
Recommended Products for Climbing Essentials




How knots work in climbing
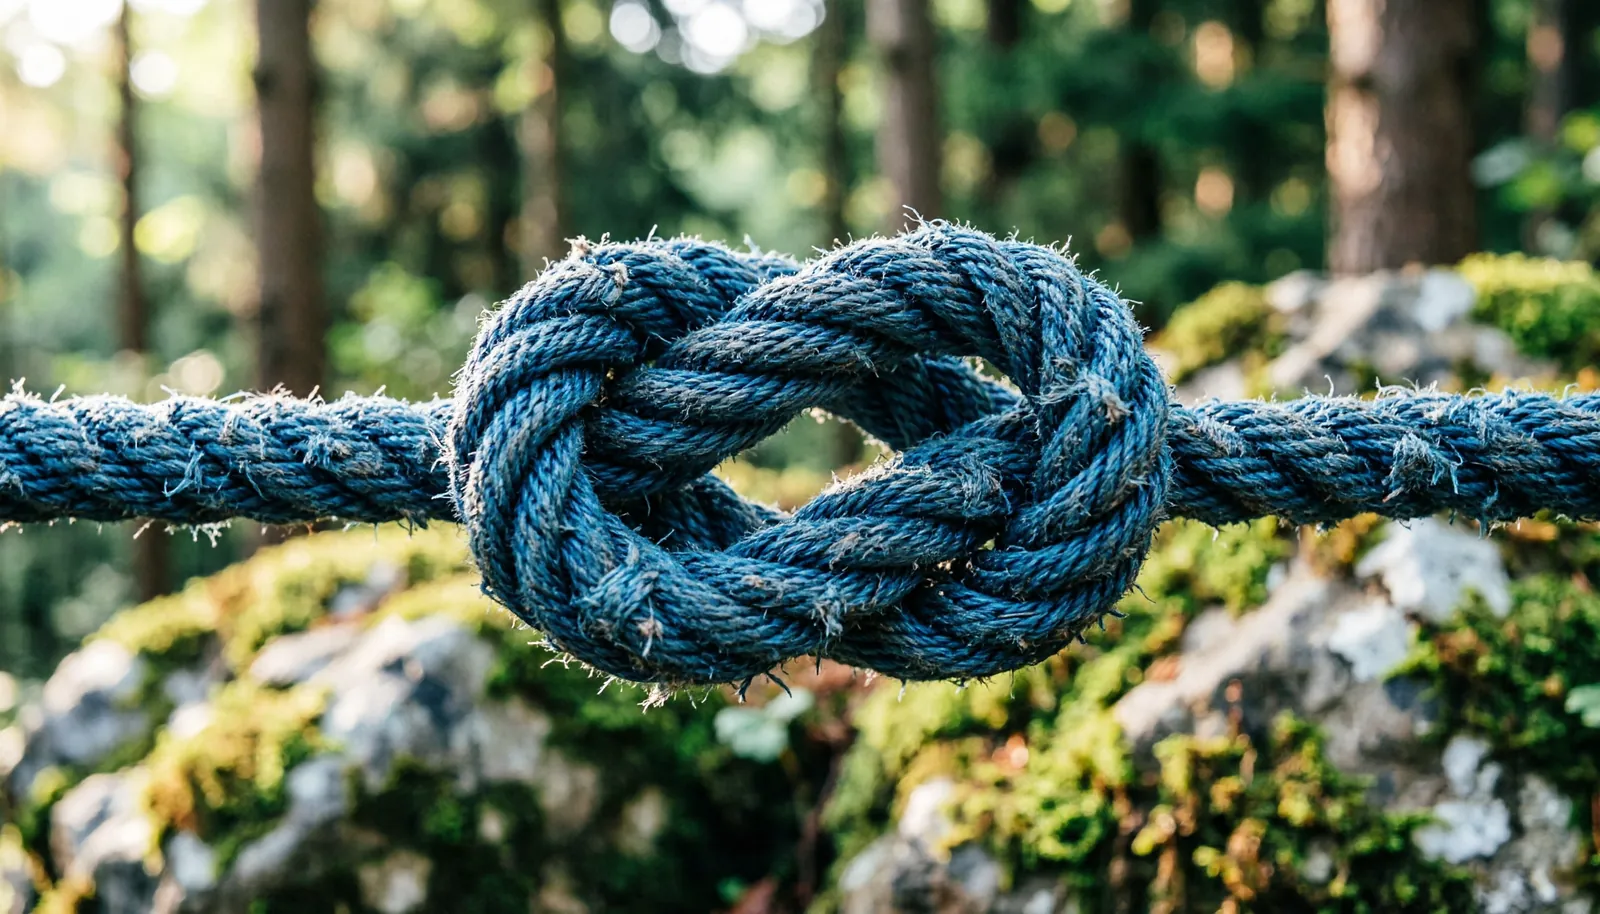
A climbing knot works by creating friction against the rope itself to hold a loop in place under load. When a climber falls or hangs on the rope, the tension pulls the knot tight, locking the structure so it can’t slip or unravel. These knots are designed to be strong, easy to inspect visually, and relatively simple to untie even after they have held significant weight.
Strength is measured by how much a knot reduces the breaking capacity of the rope. While a rope might have a high rated strength, any knot will weaken it slightly by bending the fibers. According to the UIAA safety standards, climbing equipment must meet rigorous testing to ensure it can handle dynamic forces without failure. The knots you use are the interface between you and that safety gear.
Essential climbing knots for beginners to master
You should start your practice with these four knots, as they handle the most common climbing tasks. Each serves a distinct purpose, and you must know when to use each one.
- Figure-eight follow-through: This is the primary knot for tying your rope into your climbing harness. It’s highly secure and easy to check at a glance.
- Double fisherman’s knot: Use this to join two ropes together or to create a loop of accessory cord. It’s very reliable but can be hard to untie after it has been weighted.
- Clove hitch: This is an adjustable hitch used for securing yourself to an anchor point. It allows you to change the length of the rope without untying the knot.
- Prusik knot: This is a friction hitch that slides when loose but grips the rope when weighted. It’s commonly used for self-rescue or ascending a rope.
Choosing your knots
The choice between knots often comes down to the specific situation you face at the wall. If you’re lead climbing, the figure-eight is your only choice for tying into the harness because it’s less likely to jam than other options. For building anchors, the clove hitch is preferred because it allows for quick adjustments while you’re hanging at the cliff.
| Knot | Primary Use | Difficulty to Tie | Ease of Untying |
|---|---|---|---|
| Figure-eight | Tying into harness | Low | High |
| Clove hitch | Anchor adjustment | Very low | Very high |
| Double fisherman | Joining ropes | Medium | Low |
| Prusik | Ascending ropes | Low | High |
If you’re a beginner at an indoor gym, you’ll likely only need the figure-eight for months. You should only learn the Prusik or specialized joining knots once you start climbing outdoors and need to manage your own safety systems on multi-pitch routes.
A quick test for your knots
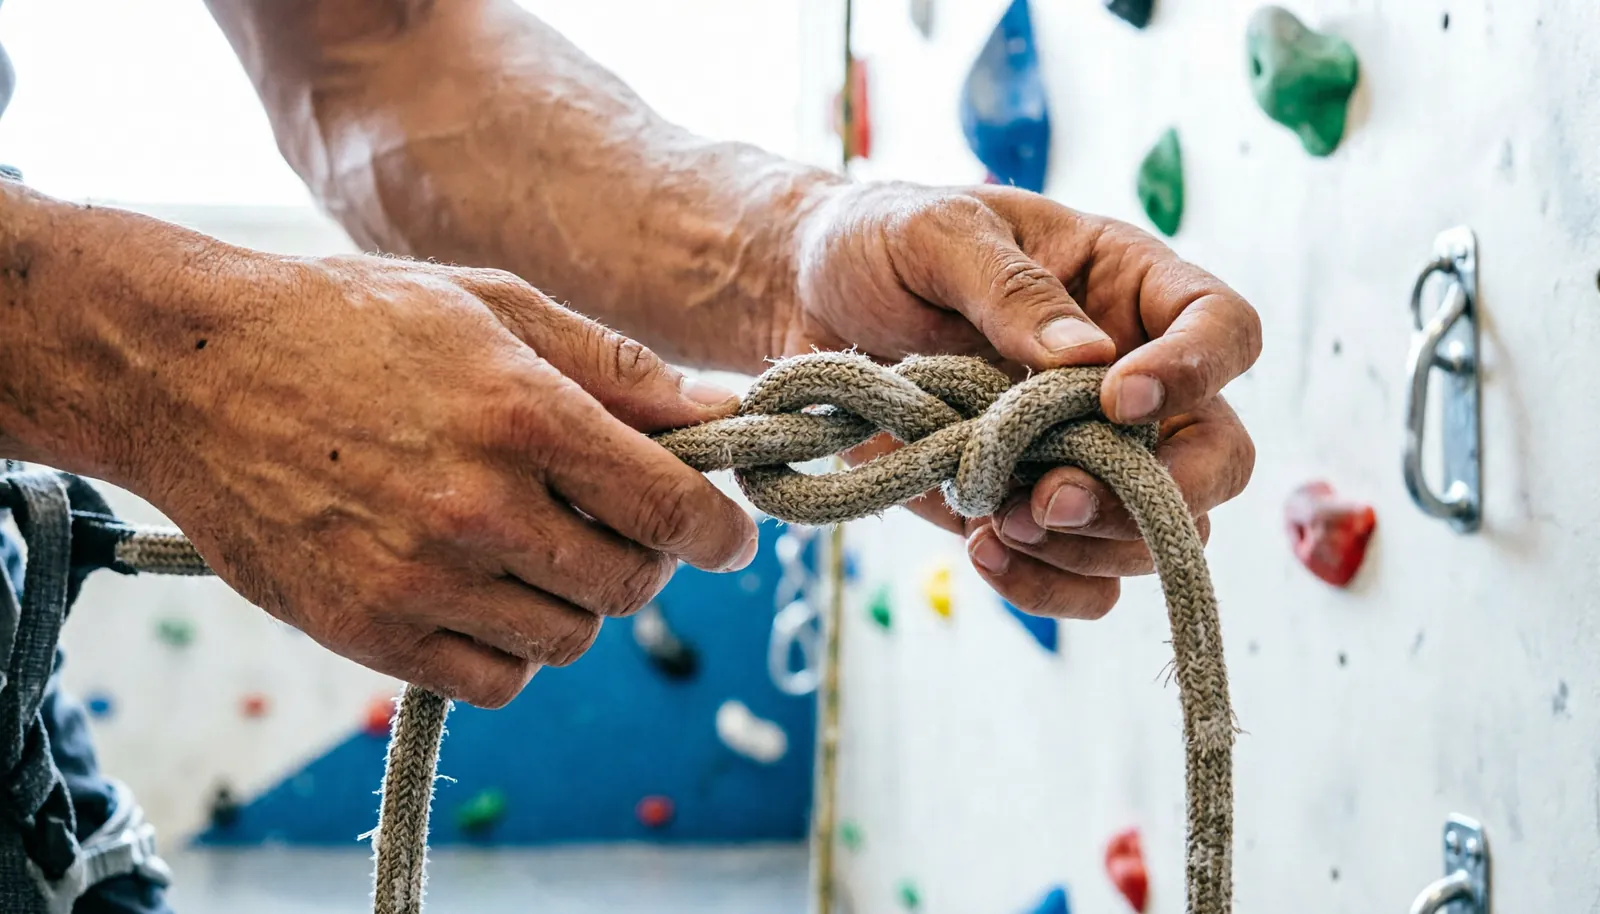
You must verify your knots every time you tie them before you leave the ground. A simple visual check takes less than a minute and prevents the most common accidents.
- Look for the “double strand” pattern on the outside of your figure-eight knot.
- Ensure there’s at least 6 inches of “tail” or loose rope sticking out of the knot.
- Pull each of the four strands individually to make sure the knot is dressed neatly and not twisted.
The honest limits of knots
No knot is immune to user error, which is the leading cause of accidents. Marketing materials often show knots in perfect conditions, but real-world climbing involves dirt, grit, and moisture. These elements can make knots harder to untie or slightly reduce their efficiency.
Never assume a knot is “bombproof” just because you tied it once; always perform a partner check before starting your climb.
The most common mistake is failing to dress the knot properly. A loose, twisted knot loses up to 30 percent of its rated strength under load. If your knot looks messy, it isn’t ready for weight.
Follow this rule: if the tail is shorter than three times the diameter of the rope, don’t trust it. Always pull every strand tight before you commit.
When to retire your gear
If you notice your rope has deep cuts, melted sections, or fuzzy spots where the core is visible, retire it immediately. Knots placed on damaged sections of a rope are significantly weaker than those on clean, healthy sections. If you’re unsure about the state of your rope or how to tie a knot properly, seek out a certified instructor. Don’t rely on internet videos for complex rescue techniques; hands-on coaching is the only way to ensure your safety.
How to use and care for your rope
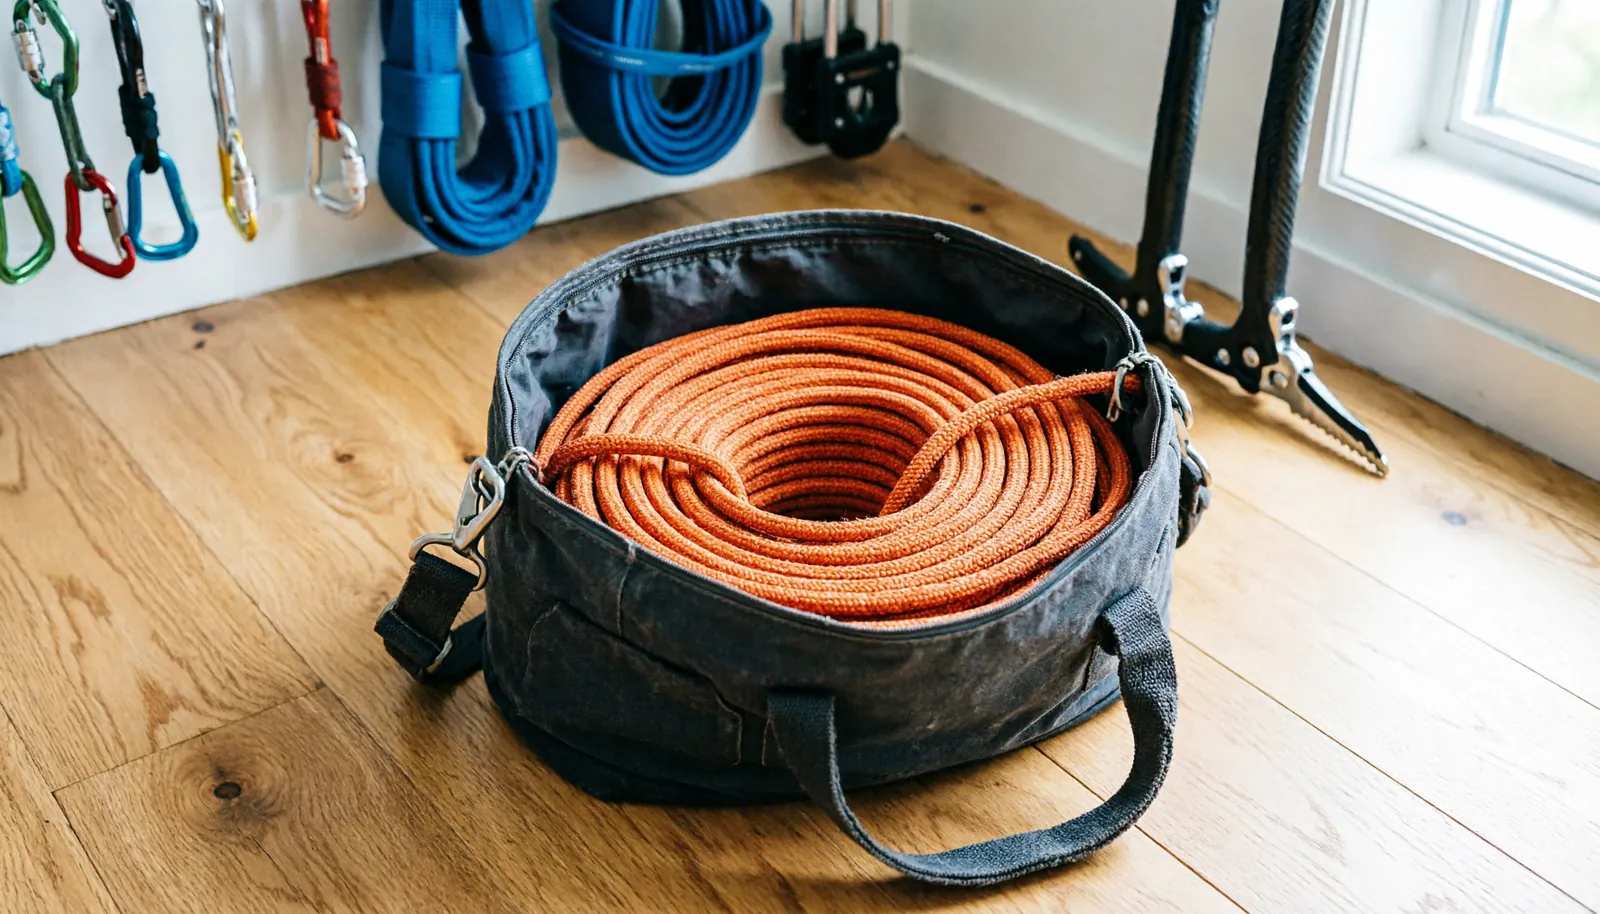
Keep your rope clean by using a rope bag to prevent it from touching the ground. Dirt acts like sandpaper on the nylon fibers, which wears them down over time.
Store your rope in a cool, dry place away from direct sunlight and chemicals like battery acid or bleach, as these can permanently weaken the material. If you accidentally spill a chemical on your line, retire it immediately. The structural integrity of nylon is compromised by invisible molecular damage that no visual inspection can detect.
Inspect the entire length of the rope by running it through your hands after every few climbing trips. Feel for soft spots or lumps, which often indicate a damaged core. If the sheath feels fuzzy or shows exposed white fibers, the rope has reached its safe limit.
Frequently asked questions
Can I use any knot for tying into my harness?
No, you should stick to the figure-eight follow-through. It’s the industry standard because it’s easy to inspect and doesn’t slip.
Why is my knot hard to untie?
Knots often tighten significantly after holding weight. If you pull the loops of the knot away from the center, it will loosen, making it easier to undo.
How often should I practice tying knots?
Practice until you can tie them in the dark or while distracted. You should be able to tie a figure-eight without thinking about the steps.
Is the bowline knot safe for climbing?
The bowline can be used, but it’s prone to coming undone if not finished with a backup knot. Beginners should stick to the figure-eight to avoid this risk.
What happens if I tie my knot incorrectly?
An improperly tied knot may slip or fail under load. Always perform a partner check to ensure your knot is correct before you start climbing.
Do I need to learn to coil a rope?
Yes, coiling protects the rope from tangles and damage. A clean coil keeps the rope organized and ready for the next climb.
Can I use wet rope?
You can climb with wet rope, but it’s weaker and harder to handle. Let your rope dry completely in the shade before storing it in a bag.
Should I use gloves when tying knots?
Gloves aren’t necessary for basic knots. They might even make it harder to feel if the knot is dressed properly.
The Bottom Line
These essential knots are the most important tools for any new climber. A secure knot is the difference between a safe session and a serious accident.
Always perform a partner check before your feet leave the ground. If you can’t explain how your knot works or why it’s secure, don’t climb until you have practiced it under the supervision of an experienced climber.
The most common mistake is failing to leave a six-inch tail beyond the knot. Without this buffer, the rope can slip through the loop under body weight. If your tail is shorter than 6 inches, untie and restart.
Use this simple decision rule: if the knot looks messy or the strands cross over themselves, it’s wrong. A proper knot always shows clean, parallel lines.
Related guides
- How to Wash a Climbing Rope Safely to Extend Its Lifespan
- Dynamic vs Static Rope: How to Choose the Right Climbing Line