How to Choose a Bouldering Crash Pad: A Practical Guide
Choosing a bouldering crash pad depends on the height of your project and whether you climb alone or with friends.
Key Takeaways
- Understanding pad construction and safety
- Choosing the best bouldering crash pad style
- A simple test for foam quality
- Comparing pad features
- The honest limits of crash pads
- Retirement and maintenance
- Care and storage
- The Bottom Line
On this page
Recommended Products for Bouldering Crash Pads

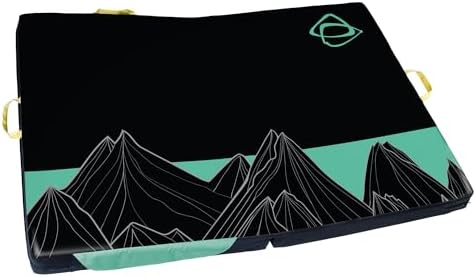
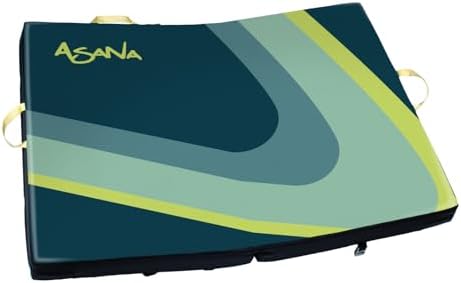

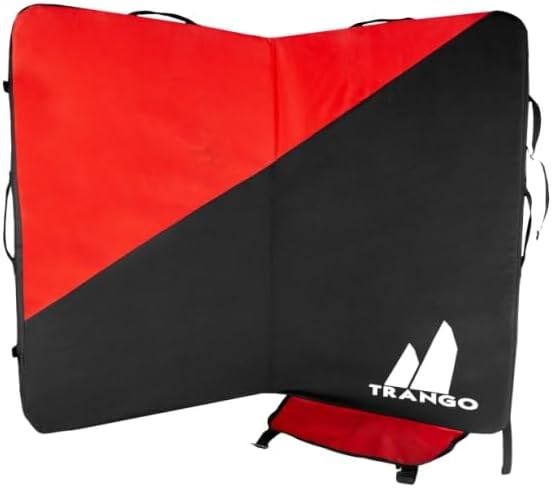


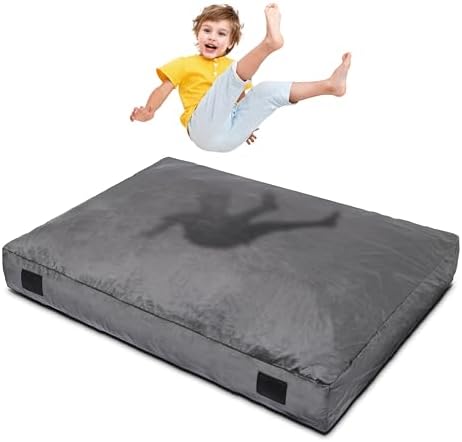


Understanding pad construction and safety
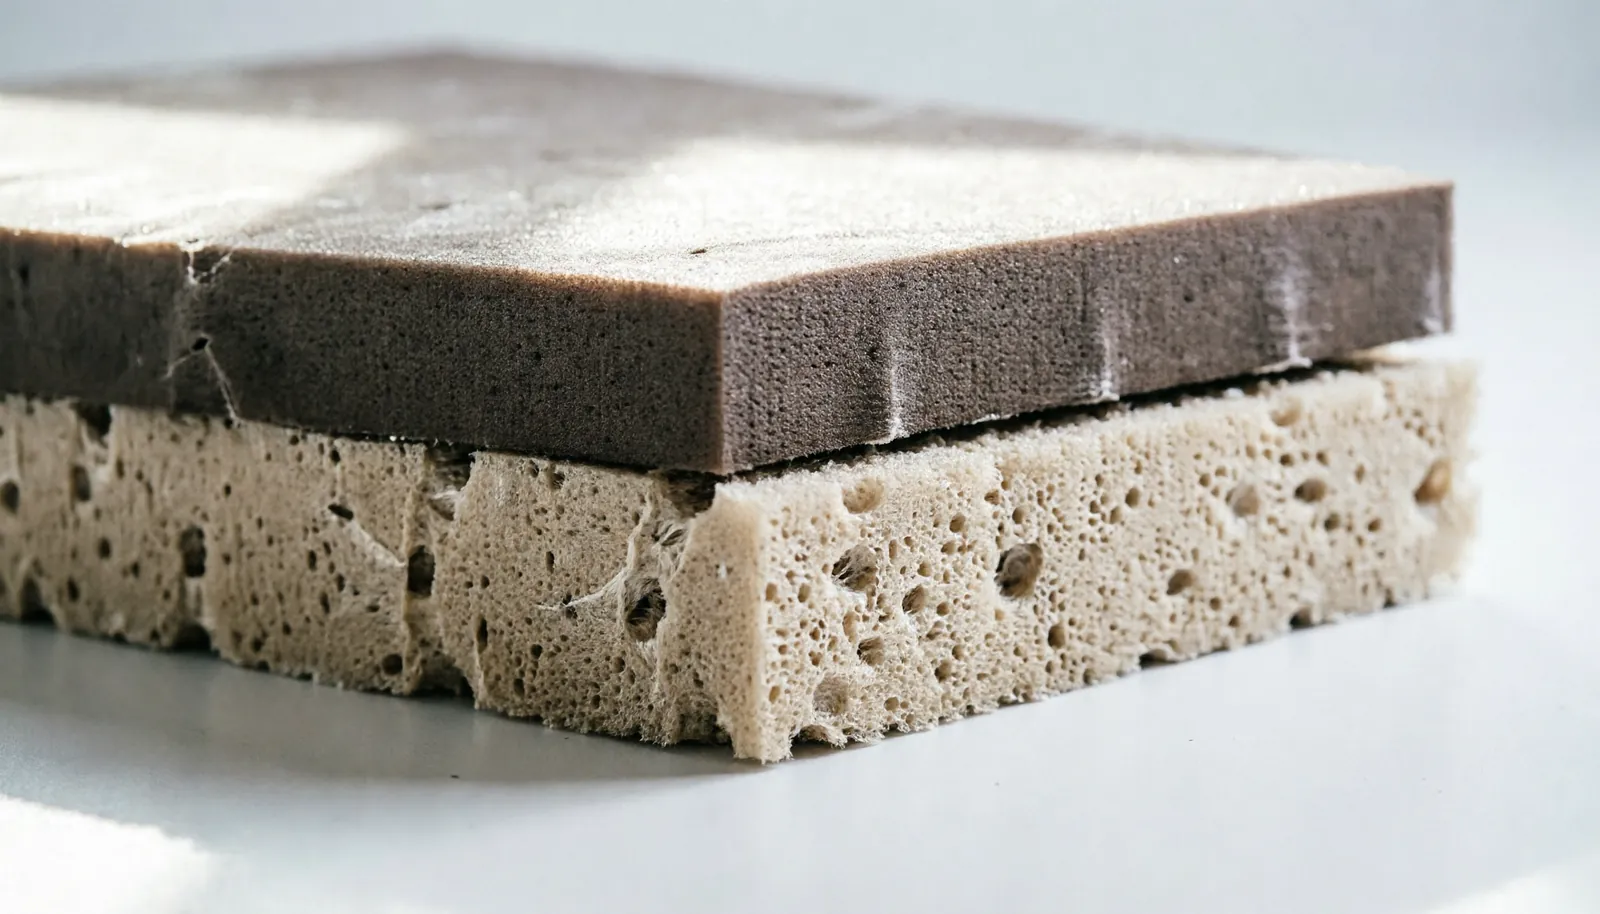
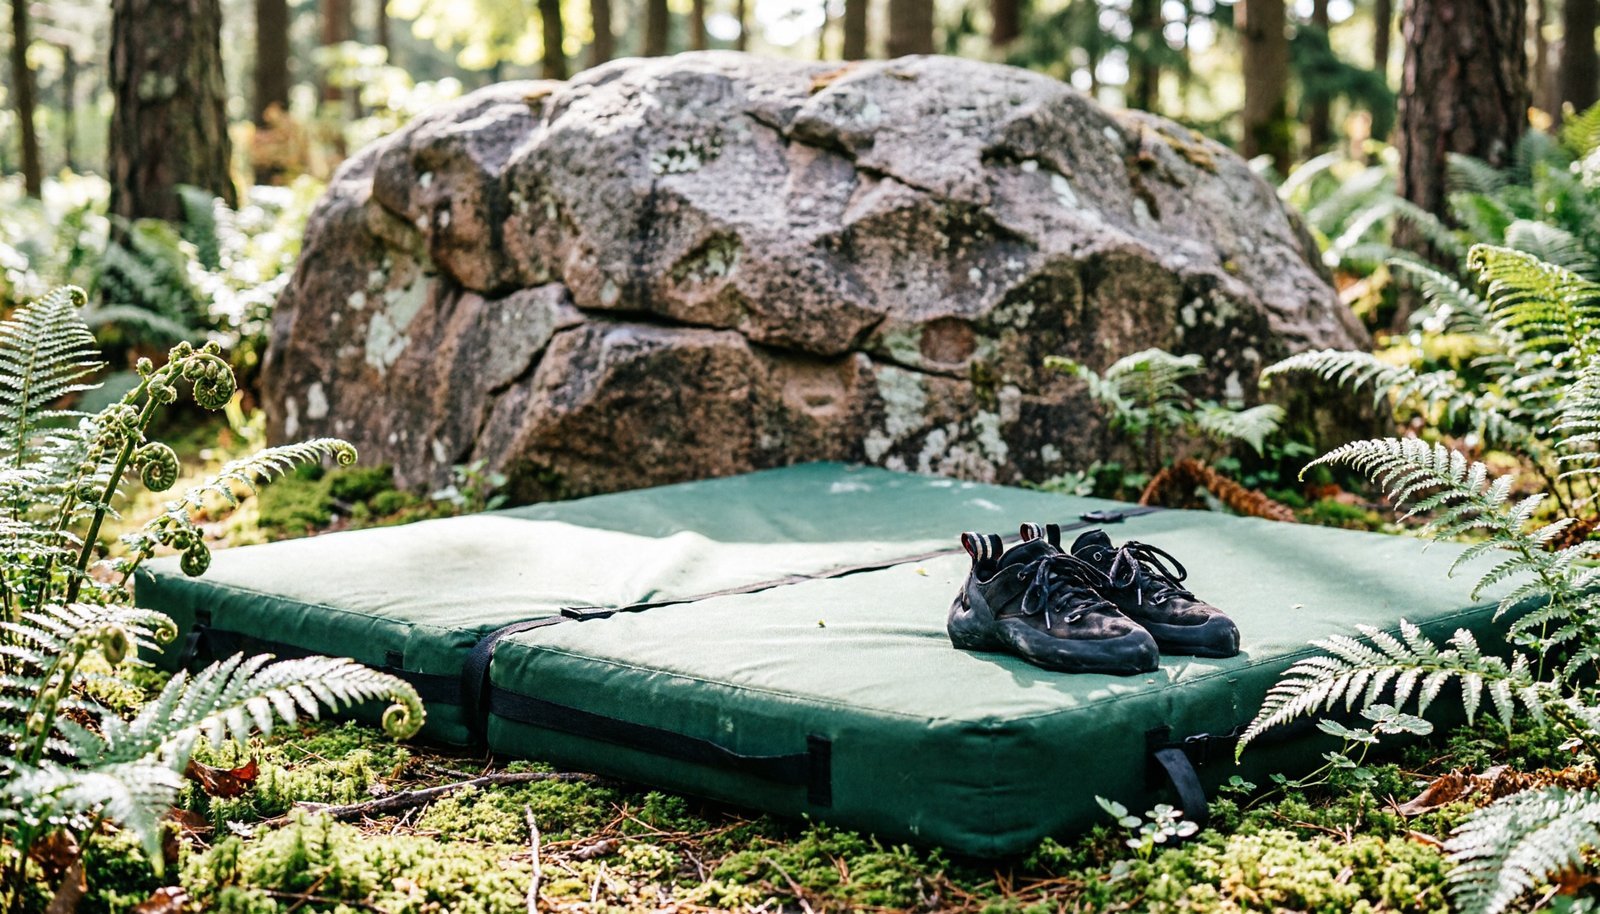
A crash pad is a portable foam sandwich designed to absorb the impact of a fall. It consists of two or three layers of foam: a firm, closed-cell top layer to disperse the force of your landing and a softer, open-cell bottom layer to absorb the remaining energy.
The mechanism relies on these layers working in tandem. If the top layer is too soft, you’ll bottom out and hit the ground. If it’s too stiff, you might bounce off or twist an ankle. Always prioritize a pad that keeps your feet from touching the hard ground underneath when you jump from your maximum project height.
Choosing the best bouldering crash pad style
There are three main styles of pads. Your choice depends on your budget and how much space you have in your vehicle.
- Single-piece pads: These are simple and durable. They have no hinge, which means there’s no “dead zone” where you might land on a seam.
- Hinged pads: These fold in half like a book. They’re easy to carry but create a soft spot at the fold. If you climb high, avoid landing on the hinge.
- Taco-style pads: These fold without a hinge, keeping the foam continuous. They’re usually more expensive and bulkier, but they offer the most consistent landing surface.
If you climb mostly alone, a single medium-sized pad is often enough. If you climb in a group, you can combine smaller pads to cover a larger area. Don’t buy a massive, heavy pad if you have to hike more than 30 minutes to your boulders.
A simple test for foam quality
You can check the quality of any pad in under a minute before you commit to a purchase.
Place the pad on a flat, hard surface. Stand on the center of the pad with one foot, putting your full body weight on that spot. Observe if you can feel the floor through the foam. If you feel the ground, the foam is too thin or too soft for your weight.
This test relies on the material’s density rather than its thickness. High-quality foam should compress slightly but maintain a firm barrier between your foot and the floor. Avoid the mistake of choosing a thicker pad that feels soft initially; it will likely sag within months, costing you both comfort and replacement fees.
Comparing pad features
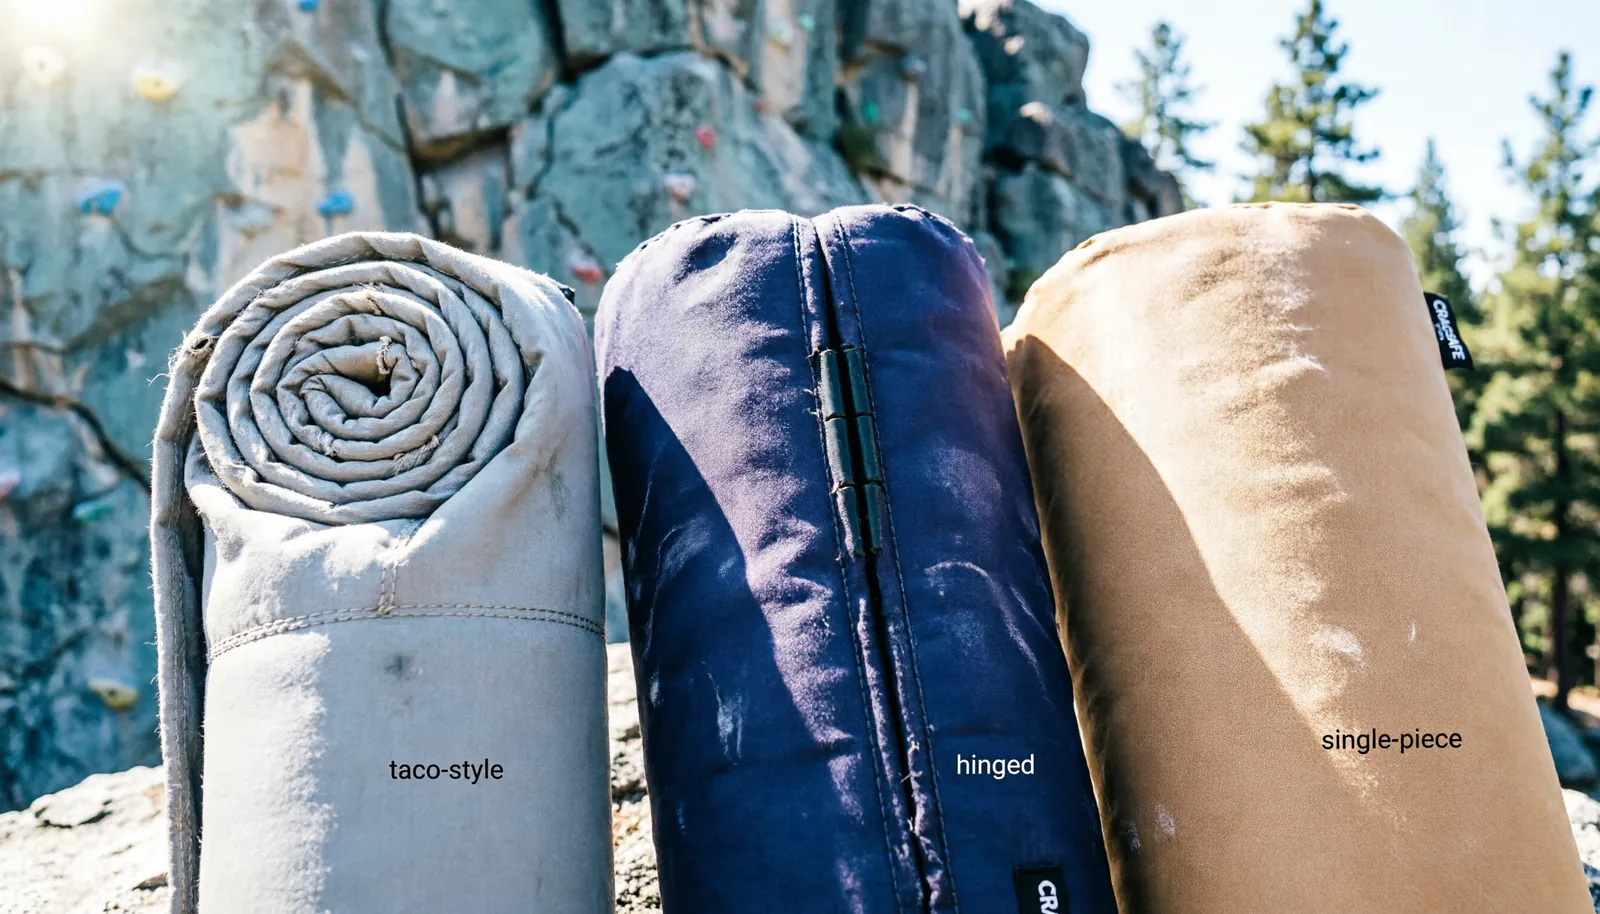
The following table shows how different design choices affect your experience at the crag.
| Feature | Taco-Style | Hinged | Single-Piece |
|---|---|---|---|
| Landing Surface | Consistent | Variable | Consistent |
| Portability | Medium | High | Low |
| Durability | High | Medium | Very High |
| Price | High | Low | Medium |
If you’re a beginner, a mid-range hinged pad offers the best value. You can always add a smaller “slider” pad later to cover gaps or protect your sit-start.
The honest limits of crash pads
Even the best crash pad can’t protect you from every fall. Marketing often claims “injury-free” landings, but padding is only meant to reduce the impact force, not eliminate it. If you land awkwardly on the edge of a pad, you can still break an ankle or suffer knee damage. Never rely on the pad to save you from bad climbing technique or poor spotter placement.
The primary failure occurs when climbers treat pads as a floor rather than a safety net. A pad is designed for a vertical impact; if you fall sideways, the foam’s compression often creates a pivot point that snaps the ankle.
If you’re falling, always try to land on your feet and collapse into a roll. If you’re landing on uneven ground, use a stack of pads to create a level surface. A single pad on a slope is a trap.
Retirement and maintenance
You must inspect your gear after every trip. If the foam feels permanently compressed or “bottoms out” when you step on it, the structural integrity is gone. Most manufacturers suggest retiring foam after 5 to 7 years of regular use, even if the outer fabric looks fine.
If you see deep tears in the foam or the suspension straps are fraying, take the pad to a professional gear shop for an evaluation. Never attempt to glue or sew structural foam yourself, as this can create dangerous hard spots.
These small punctures often lead to catastrophic seam failure during cold nights. If the bubbles originate from the seam rather than the surface, the pad is beyond repair.
Care and storage
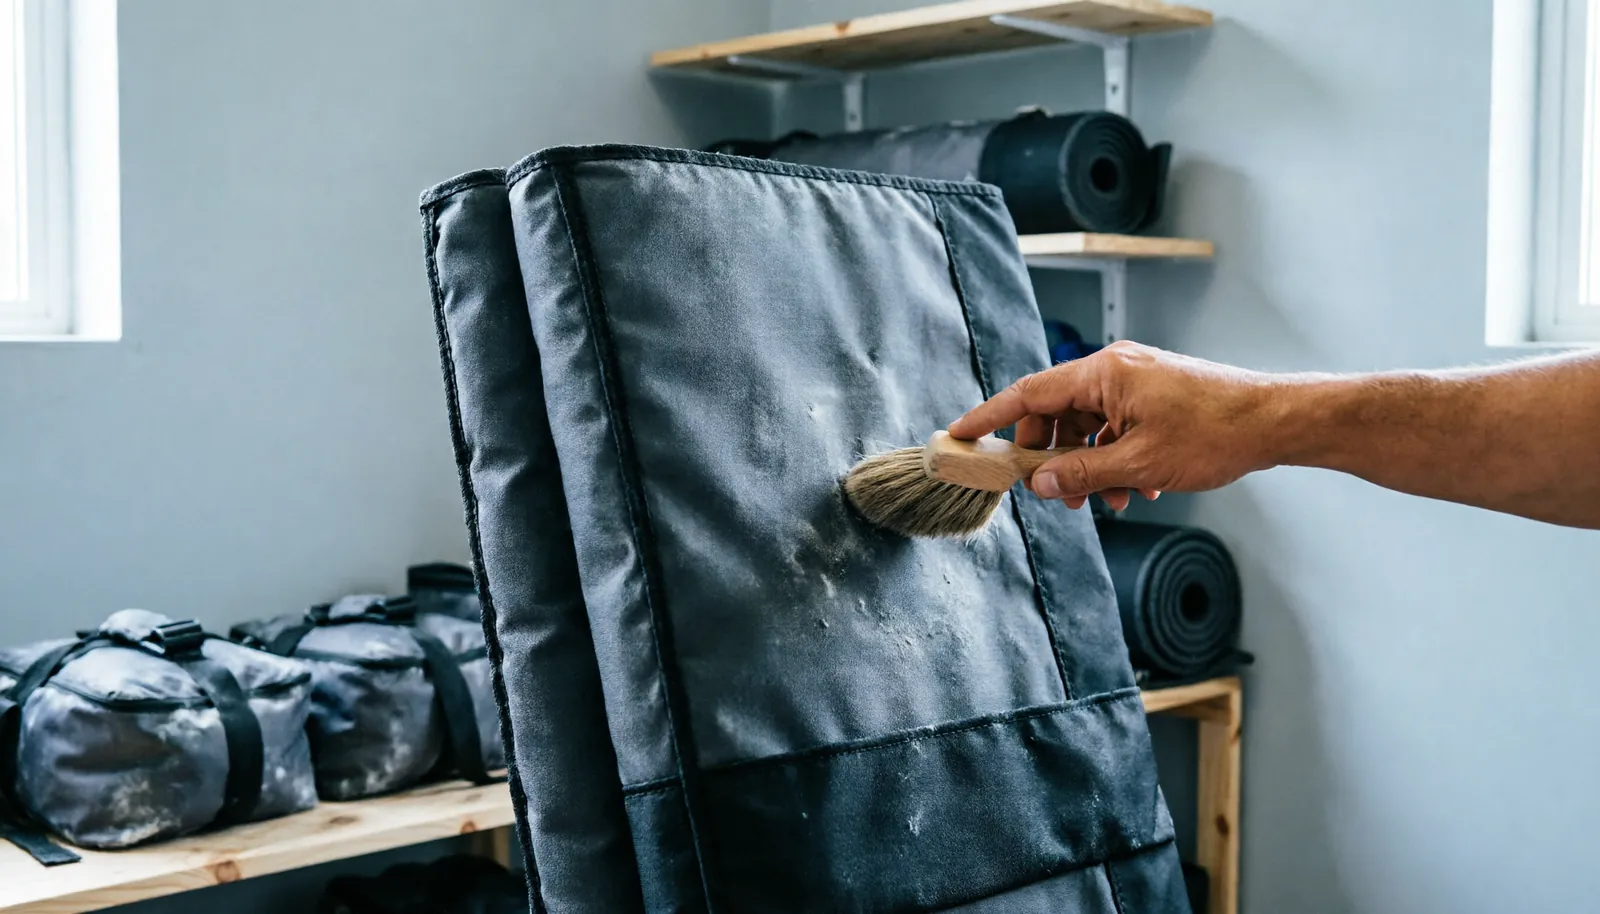
Keep your pad clean by brushing off dirt before you fold it. If you leave rocks or debris inside the fold, the fabric will eventually tear.
Store your pad in a cool, dry place away from direct sunlight, as UV rays break down the nylon fabric over time. If you store it in a garage, ensure it stays off the concrete floor to avoid moisture wicking.
If the pad gets wet, leave it open in a shaded area until it’s completely dry to prevent mold from growing inside the foam layers. Never store the pad compressed for more than two weeks. Long-term compression ruins the foam’s ability to loft.
Frequently asked questions
Can I use a mattress instead of a crash pad?
No. Household mattresses aren’t designed for high-impact forces and won’t stop you from hitting the ground.
How many pads do I need for a highball?
For high climbs, you need at least two or three large pads stacked or placed side-by-side.
Does the thickness matter?
Yes. A 4-inch pad is standard, but you should look for 5 inches or more if you’re climbing higher than 10 feet.
Should I get a backpack suspension system?
If you walk more than 15 minutes to the crag, a decent backpack suspension system is essential. It saves your shoulders and makes the walk much easier.
How do I clean the fabric?
Use a soft brush and lukewarm water. Avoid harsh chemicals that can weaken the nylon.
What is a “slider” pad?
A slider is a small, thin pad used to fill gaps between larger pads. It isn’t meant for primary landing protection.
Can I leave my pads outside?
Never. Moisture and sun will ruin the foam and fabric very quickly.
What is the “dead zone”?
This is the soft or unstable area in the middle of a hinged pad. It’s the most common place to twist an ankle.
The Bottom Line
The most important factor is choosing a pad that matches the height of your typical climbs and the distance you have to hike. Focus on foam density rather than size, as a massive pad that’s too soft won’t protect you from a serious fall.
If you climb boulders taller than ten feet, prioritize a dual-density foam construction. This features a firm top layer to distribute impact and a softer bottom layer to absorb energy. A common mistake is buying a thin, single-layer pad for highball problems. This error often leads to “bottoming out,” where your feet strike the hard ground through the foam.
Always prioritize safety by using a spotter, even when you have multiple pads on the ground. A crash pad is a tool to help you fall more safely, but it’s never a substitute for careful movement and good judgment.