
How to Belay a Lead Climber Safely: Beginner’s Guide
Belaying a lead climber safely means managing the rope so a fall is caught quickly, without letting the climber hit the ground or a ledge. You feed rope out as they climb, keep just enough slack, and lock off hard the moment they fall. It’s the same basic job as top-rope belaying, but the stakes and the timing are different.
On top rope, the rope comes from above. It’s already tight, so a fall is short and soft. On lead, the rope comes from below, clipped through quickdraws as the climber moves up. Every fall is longer, and the distance grows with every clip.
Here’s the part most guides get wrong: the danger isn’t usually the fall itself. It’s the fall distance plus rope stretch plus a soft catch. A belayer who stands too far from the wall, or gives a big dynamic catch, can drop a climber onto a ledge. A soft catch is good on overhangs and bad near the ground.
This guide covers the real mechanics, the gear choices, a one-minute check, the comparison people mix up most, and the limits. You’ll also get the mistakes that actually hurt people, and when to hand the rope to a pro.
Key Takeaways
- What Lead Belaying Really Is and How the System Works: Lead belaying is an active job. You’re not just holding a rope — you’re reading the climber’s body, watching the clip, and adjusting slack in real time.
- Types of Belay Devices and How to Pick One: There are three broad families: tube devices, assisted-braking devices, and the classic figure-8 (now rare for lead).
- The 60-Second Check Before You Belay: Do this check every single time, before the climber leaves the ground.
- Tube vs Assisted-Braking: What People Actually Confuse: The confusion is usually about how much the device “catches” for you.
- What Lead Belaying Can’t Do: A belay device can’t fix a bad stance, and no device catches a fall if your brake hand lets go.
- When to Retire Gear and When to Call a Pro: Climbing gear is life-safety gear, so retirement rules matter.
Recommended Products for Belaying
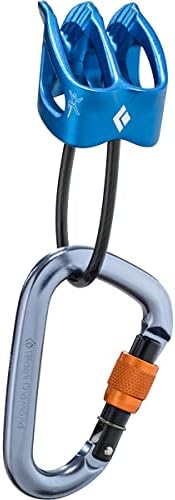


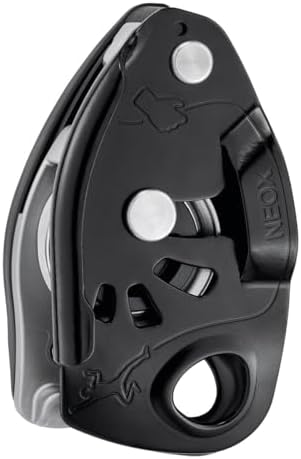
What Lead Belaying Really Is and How the System Works
Lead belaying is an active job. You’re not just holding a rope — you’re reading the climber’s body, watching the clip, and adjusting slack in real time. The belay device and your brake hand do the work, but your eyes and timing decide how safe the catch is.
A few terms matter before you start. Slack is the loose rope between you and the climber. Take is when you pull rope in. Feed is when you let rope out. Locking off is when you grip the brake strand to stop a fall. Short-roping means keeping the rope too tight, which can pull a climber off balance.
The brake hand never leaves the rope. That’s the core rule, and it doesn’t change with any device. Your other hand manages the feed side. If you let go of the brake strand, you’ve lost control of the catch.
Modern belay devices and ropes are tested to standards. Climbing gear sold in Europe carries a CE mark, and ropes and hardware are tested to EN 892 (ropes) and EN 15151-1 (belay devices). The UIAA also publishes its own safety labels. These numbers tell you the gear passed a lab test — they don’t tell you the belayer is paying attention.
Types of Belay Devices and How to Pick One
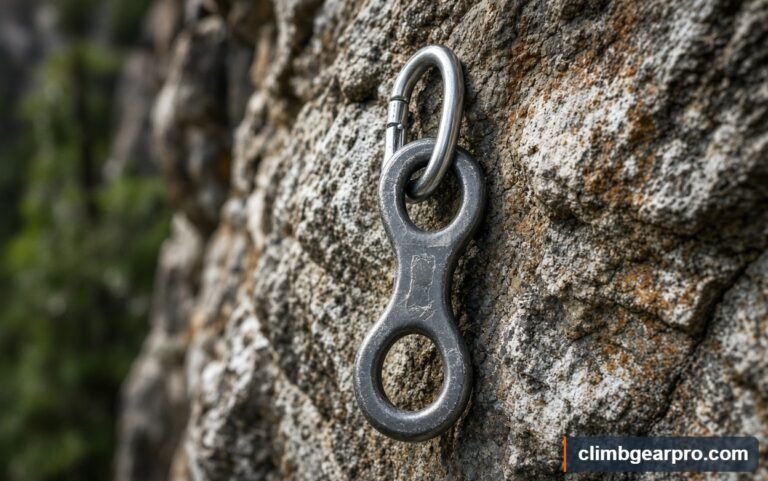
There are three broad families: tube devices, assisted-braking devices, and the classic figure-8 (now rare for lead). Each one changes how much the device helps you and how much you have to do yourself.
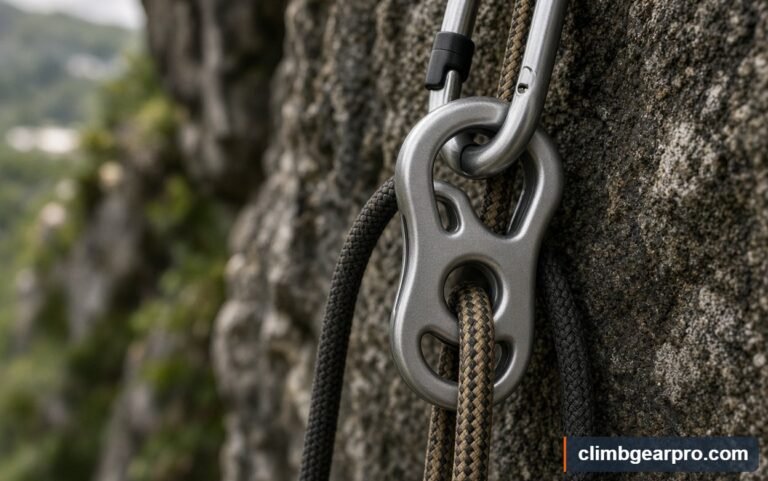
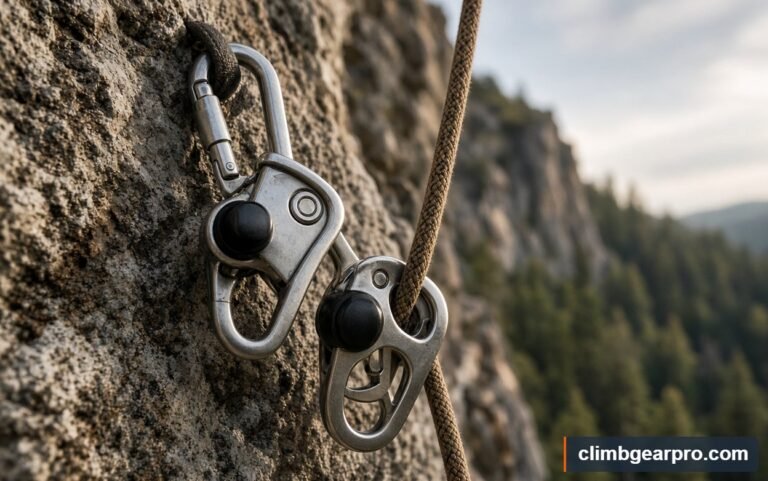
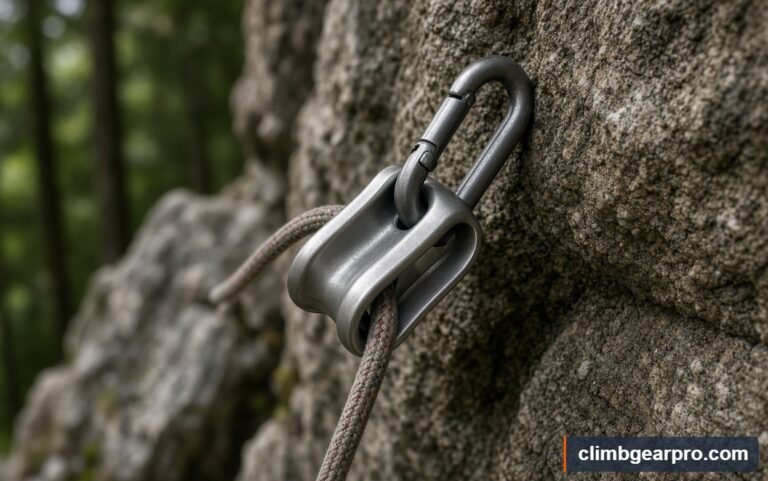
Tube devices are simple and cheap. They give a smooth feed, which climbers like on hard clips. But they offer no help in a fall — your brake hand does everything. Assisted-braking devices add friction that grabs the rope when it moves fast. They help in a panic, but they’re not hands-free and they can jam when you need to feed fast.
If you’re belaying a heavier climber, an assisted-braking device adds a margin of safety. If you’re feeding rope to a fast clip on a steep route, a tube device can feel smoother — but only if your brake-hand habit is solid. There’s no single best device; there’s the one that matches your habits and your partner.
A cheaper tube device is genuinely fine for a careful, experienced belayer. The device isn’t the safety system — you are. Don’t let anyone tell you a device replaces training.
| Feature | Tube device | Assisted-braking device |
|---|---|---|
| Fall assistance | None — brake hand only | Friction grabs on fast movement |
| Feeding rope | Very smooth | Can feel stiff when feeding |
| Best for | Experienced, attentive belayers | Beginners, heavier climbers |
| Weight | Light | Heavier |
| Cost | Low | Higher |
| Brake hand still required | Yes, always | Yes, always |
The 60-Second Check Before You Belay
Do this check every single time, before the climber leaves the ground. It takes under a minute and it catches the errors that cause most accidents.
- Harness check. Look at your own harness — buckles doubled back or locked, leg loops snug, belay loop not worn thin.
- Knot check. Confirm the climber’s figure-8 follow-through is complete and dressed, with a tail of at least 6 inches.
- Device check. The rope runs through the device the right way, brake strand on your brake-hand side.
- Partner check. Say “on belay” and wait for “belay on.” Confirm the climber’s knot, harness, and tie-in together.
- Stance check. Stand close to the wall, feet apart, brake hand ready. Not sitting, not far back.
If any step fails, stop and fix it. A two-minute delay is cheaper than a hospital trip.
Tube vs Assisted-Braking: What People Actually Confuse
The confusion is usually about how much the device “catches” for you. People hear “assisted braking” and think it means “auto-locking.” It doesn’t. The device adds friction, but it still needs your brake hand.
The other mix-up is static vs dynamic rope. Lead climbing uses a dynamic rope, which stretches to absorb fall energy. A static rope barely stretches — great for hauling, dangerous for lead falls because the energy goes into the climber and the gear.
| Question | Tube device | Assisted-braking device |
|---|---|---|
| Does it stop a fall alone? | No | No — it assists, it doesn’t lock |
| Rope type needed | Dynamic | Dynamic |
| Good for beginners? | Only with solid training | Yes, more forgiving |
| Feed speed | Fast and smooth | Slower, needs technique |
| Failure risk | Belayer error | Belayer error still possible |
Choose a tube device if you’ve had real instruction and your brake-hand habit is automatic. Choose an assisted-braking device if you’re new, rusty, or belaying someone much heavier than you. Either way, the device is a backup — not a replacement — for your hand.
What Lead Belaying Can’t Do
A belay device can’t fix a bad stance, and no device catches a fall if your brake hand lets go. Marketing language like “auto-locking” and “hands-free” is misleading for lead climbing. Those terms describe very specific situations, not normal belaying.
A soft catch is also not always safer. On steep overhangs, a soft catch reduces the shock on the gear and the climber. Near the ground or above a ledge, a soft catch can be dangerous because the climber drops further. The right catch depends on where the climber is, not on a fixed rule.
The evidence on soft vs hard catches is also thinner than people assume. Most recommendations come from experienced climbers and instructor bodies, not controlled studies. That doesn’t make them wrong — it means you should treat them as good practice, not settled science.
When to Retire Gear and When to Call a Pro
Climbing gear is life-safety gear, so retirement rules matter. Ropes, harnesses, slings, and carabiners all have limits. Manufacturers publish lifespan guidance, and you should follow it.
Retirement red flags for a rope: core shots (you can see the white core), flat spots, stiffness, chemical exposure, or a serious fall. Most makers say retire a rope after a big fall or after years of use, whichever comes first. Check the maker’s own guidance for your specific rope.
Harness red flags: worn belay loop, frayed webbing, damaged buckles, or visible stitching damage. Carabiners: deep grooves, a sticky gate, or any crack. Slings: fading, fraying, or a faded label that hides the rating.
If you’re unsure about any piece of gear, retire it. Gear is cheap compared to a fall. And if you’ve never had formal instruction, book a course with a certified instructor or guide before you belay a lead climber. A blog can explain the idea — it can’t watch your hands.
How to Belay a Lead Climber Safely in Practice
Good lead belaying is mostly about position and rhythm. Stand close to the wall, slightly to the side of the first bolt. Keep your brake hand on the rope at all times, and use your other hand to feed or take.
When the climber clips, give a quick burst of slack so they can pull rope up. Too little slack makes the clip hard and can pull them off. Too much slack means a longer fall. Aim for a small loop — enough to clip, not a pile of rope on the ground.
When the climber falls, lock off immediately. Pull your brake hand down and back, and let the rope come tight. Don’t jump or step back — that adds fall distance. If the climber is near the ground or a ledge, give a hard catch. If they’re on a steep overhang, a slightly softer catch is fine.
Care and storage matter too. Keep rope out of sunlight when stored, away from chemicals, and never step on it. Coil it loosely and store it in a rope bag. Check your device for wear after every session, and clean it with water only — no solvents.
FAQ
How much slack should I give a lead climber?
Just enough to clip, no more. A small loop of slack is right. A big pile of rope means a longer fall and a higher chance of hitting something.
Can I belay a lead climber with a tube device as a beginner?
Only after real instruction. Tube devices give no fall assistance, so your brake hand has to be automatic. Assisted-braking devices are more forgiving while you build the habit.
What’s the difference between a hard catch and a soft catch?
A hard catch stops the fall quickly and keeps the climber high. A soft catch lets the rope stretch and the climber drop further. Hard catches are safer near the ground; soft catches are safer on steep overhangs.
Do I need a dynamic rope for lead belaying?
Yes. Lead falls need a dynamic rope, which stretches to absorb energy. A static rope barely stretches and can put dangerous force on the climber and gear.
How often should I replace my climbing rope?
Follow the maker’s guidance. Most say retire after a serious fall, or after a set number of years, whichever comes first. Check for core shots and flat spots before every session.
Can an assisted-braking device catch a fall on its own?
No. It assists by adding friction, but it still needs your brake hand. Never let go of the brake strand, even with an assisted device.
How far should I stand from the wall when belaying?
Close to the wall, slightly to the side of the first bolt. Standing far back adds fall distance and makes the catch harder to control.
What should I do if the climber is about to hit a ledge?
Give a hard catch — lock off fast and don’t step back. Pulling in rope quickly keeps them higher and away from the ledge.
Is it safe to belay someone much heavier than me?
It’s possible, but harder. An assisted-braking device and a solid stance help. If the weight difference is large, consider letting someone heavier belay instead.
When should I take a lead belay course?
Before you belay a lead climber for real. A certified instructor can watch your hands, correct your stance, and teach you to catch falls safely.
The Bottom Line
The key decision is your device and your habits. If you’re new or rusty, use an assisted-braking device and get real instruction. If you’re experienced, a tube device is fine — as long as your brake hand never leaves the rope.
The one thing that matters most: your brake hand stays on the rope, every second, no exceptions. Gear helps, but the belayer is the safety system. Get trained, check your gear, and never rush the partner check.
One Comment