How to Break In Climbing Shoes Safely Without Pain
Breaking in climbing shoes requires patience, as forcing the process often leads to painful pressure points or permanent damage to the shoe’s internal structure.
Key Takeaways
- Understanding climbing shoe fit and construction
- Factors that change the break-in process
- A simple test for proper size
- The honest limits of shoe stretching
- When to retire your climbing shoes
- Care and maintenance steps
On this page
Recommended Products for Climbing Shoes




Understanding climbing shoe fit and construction
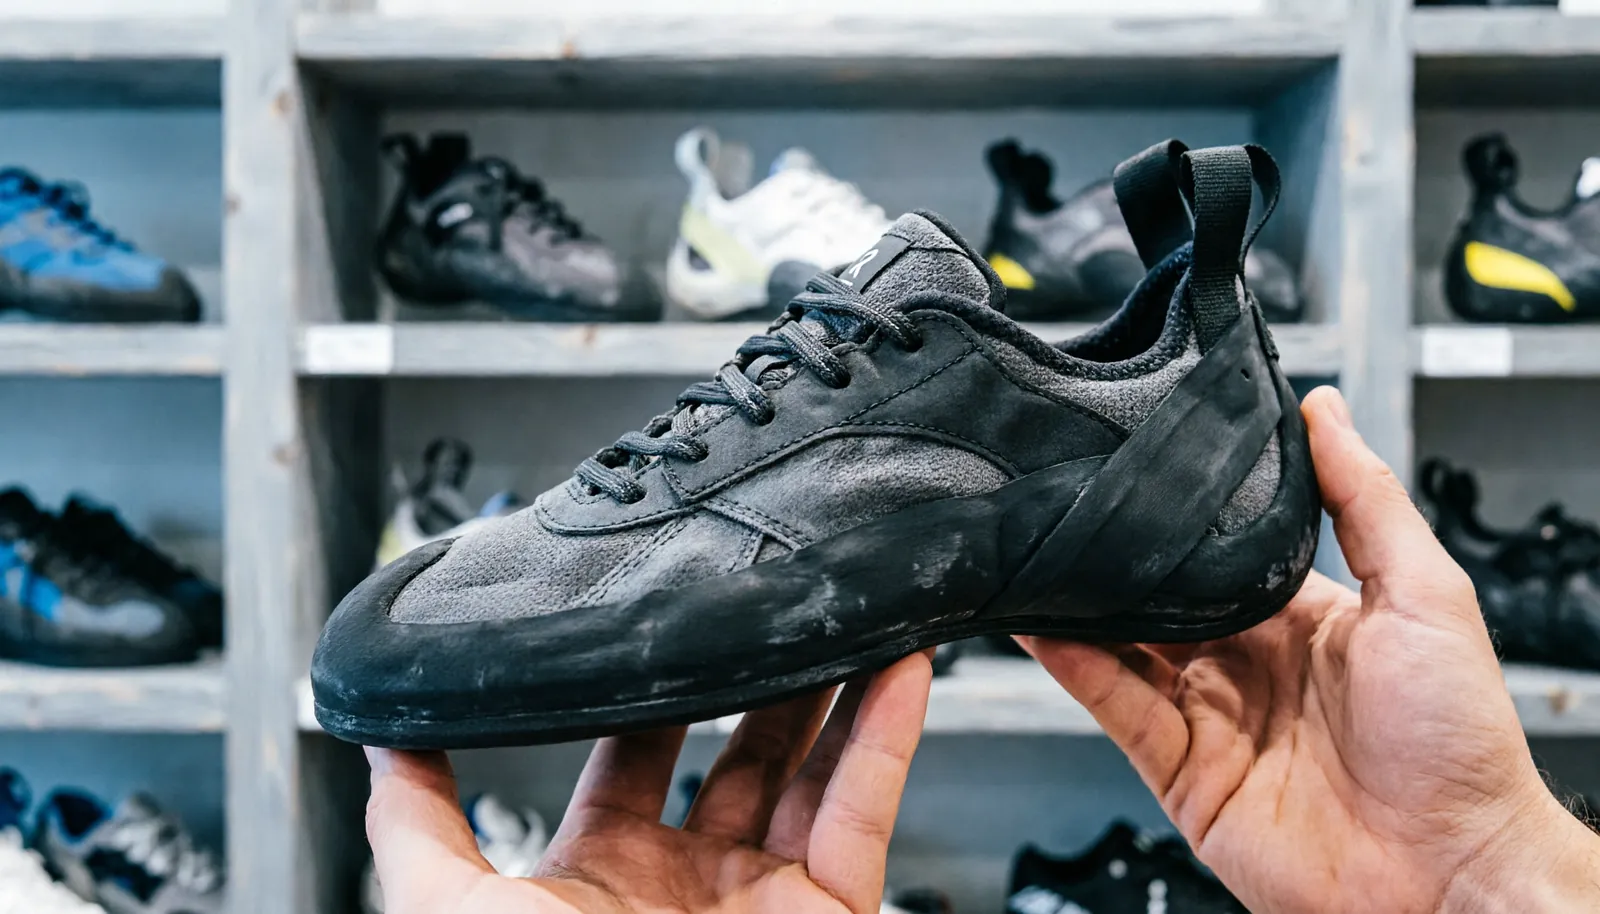
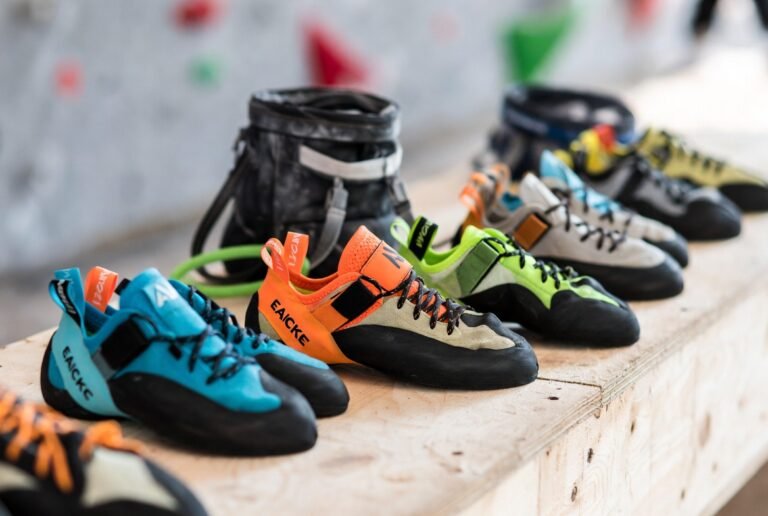
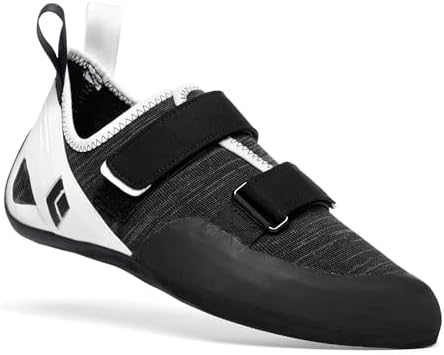
Climbing shoes are designed to fit like a second skin to provide precision on small edges. Unlike street shoes, they’re built with tensioned rands that pull the toes into a curled position. This design is what creates the power needed for steep climbing, but it also means the shoes will feel tight and uncomfortable right out of the box.
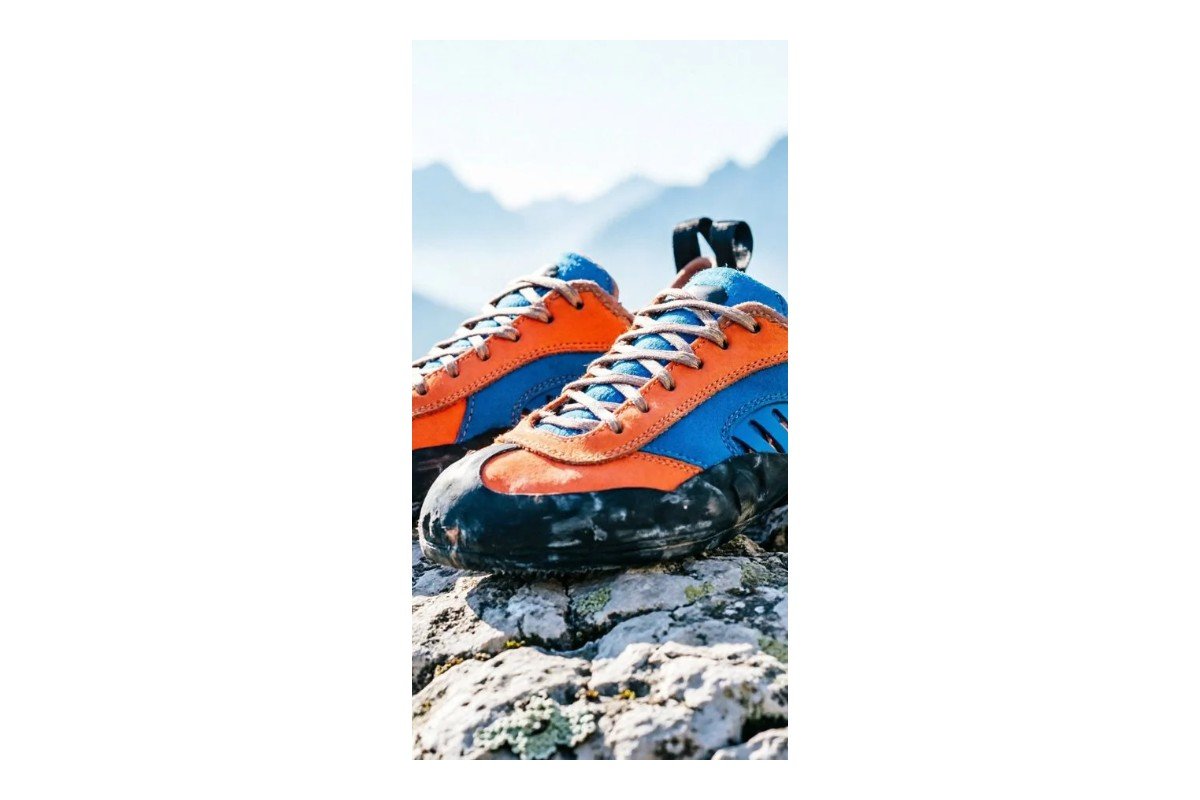
The materials used in the upper determine how much the shoe will stretch. Leather shoes, such as those made from unlined suede, are known to stretch up to a full size over time. Synthetic materials, however, are designed to keep their shape and will usually offer very little stretch.
Factors that change the break-in process
Choosing the right shoe for your foot shape is more important than the break-in process itself. If you have a wide foot but choose a narrow, high-asymmetry model, no amount of wearing will make it comfortable. You should look for shoes that match your heel width and toe profile to avoid unnecessary pain.
Common shoe types and their behavior
| Shoe Type | Typical Stretch | Best Use |
|---|---|---|
| Unlined Leather | High | All-day comfort |
| Lined Leather | Medium | Moderate performance |
| Synthetic | Low | High-performance/bouldering |
| Hybrid | Low to Medium | General purpose |
If you’re a beginner, opt for a flatter, less aggressive shoe. If you’re an advanced climber focusing on steep overhanging routes, you might prefer a downturned shoe that stays tight. A common mistake is buying shoes that are already loose; if they feel perfectly comfortable in the store, they will likely be too baggy once the material relaxes.
A simple test for proper size
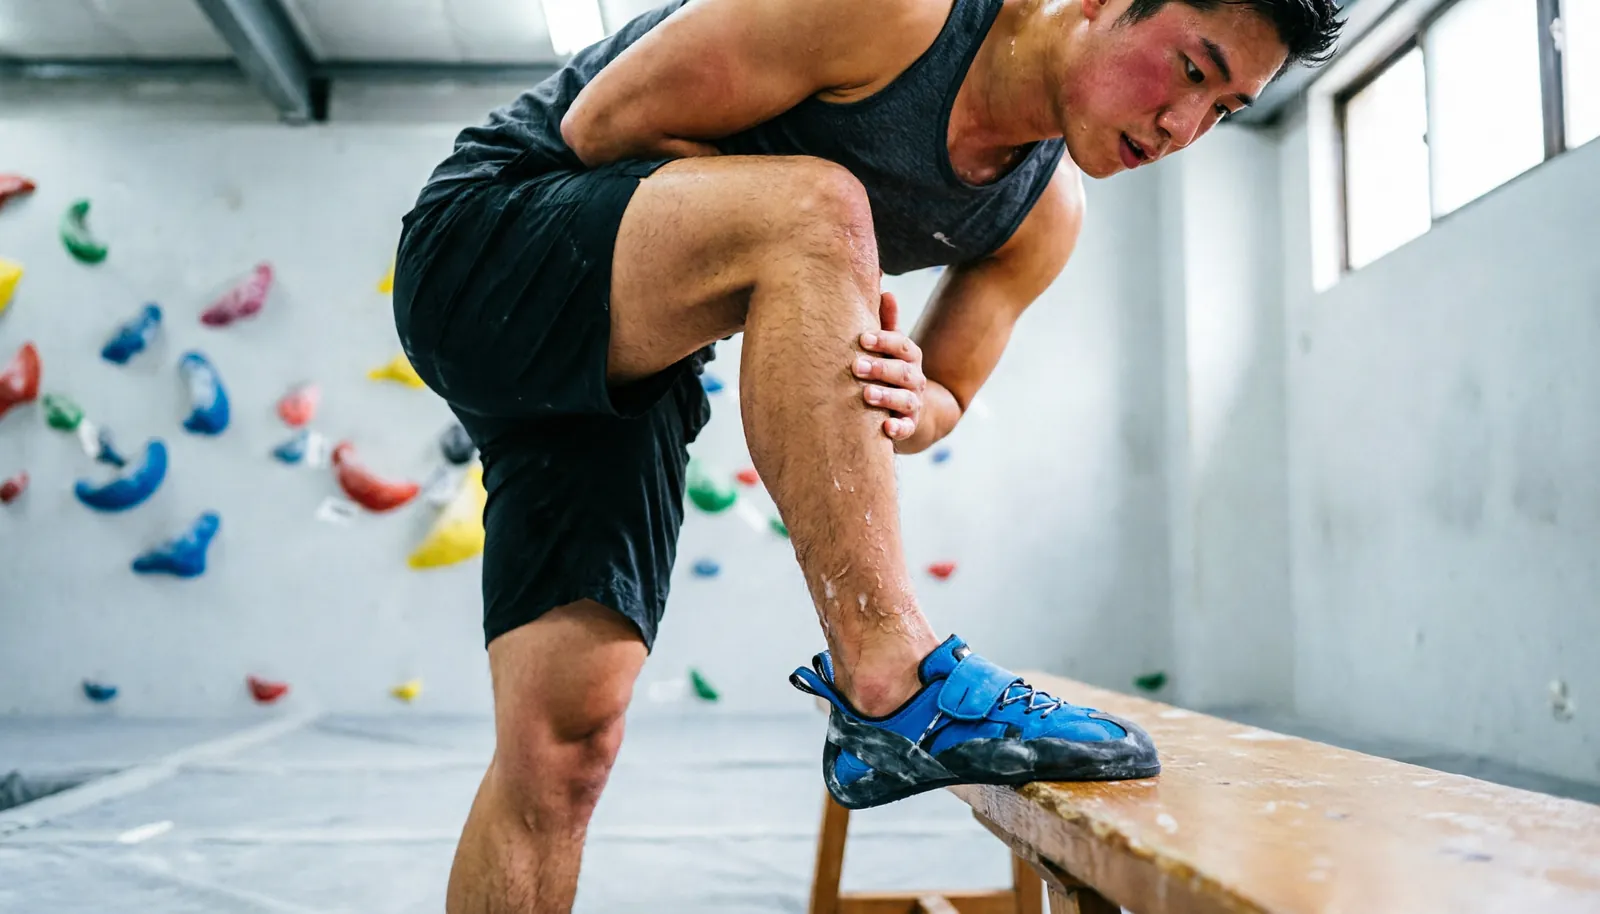
Before you commit to wearing your new shoes on the wall, perform this quick check to ensure they aren’t too small.
Put the shoes on while sitting down. Ensure your toes are touching the front but not painfully crunched. Stand up and put your full weight on your feet.
If your toes are forced into such a tight curl that you can’t stand for more than 30 seconds, the shoe is likely too small to break in safely.
Most climbers make the mistake of assuming synthetic materials will stretch significantly. They rarely do. If the shoe causes sharp, hot spots on your knuckles while standing, size up a half size immediately. If the fit feels snug but comfortable enough to bear weight, you have found the right match. A shoe that requires you to grit your teeth just to stand is a liability that will ruin your session.
The honest limits of shoe stretching
It’s vital to recognize that you can’t force a shoe to change its fundamental shape. If the heel cup is too wide or the arch is too long for your foot, the shoe will never fit correctly.
Many people believe that soaking shoes in hot water will speed up the process. This is a costly mistake. It destroys the integrity of the adhesive and degrades the rubber’s chemical properties, often leading to premature sole separation.
Marketing often suggests that “break-in” will solve all fit issues. In reality, break-in is only for minor adjustments to the volume of the upper material. If you have to endure significant pain just to put the shoe on, you have the wrong size or the wrong last for your foot.
Use this decision rule: If the shoe feels snug but comfortable, it will break in over 20 to 30 hours of wear. If you feel sharp pressure points or numbness, no amount of stretching will fix the structural mismatch.
When to retire your climbing shoes
Climbing shoes are safety gear in the sense that a worn-out sole can cause you to slip at a critical moment. You should inspect your shoes regularly for holes in the rubber or separation between the sole and the upper. If you see the internal fabric lining showing through the sole, the shoe has reached the end of its life.
Check the rand, the strip of rubber wrapping the toe, for thinning. If you can see the stitching or the leather beneath this rubber, resole them immediately. Waiting until the leather is exposed creates a permanent structural defect that professional cobblers can’t repair.
For minor wear, you can have your shoes resoled by a professional. This involves replacing the rubber outsole and sometimes the rand. If the structural integrity of the shoe is compromised or the heel cup has lost its tension, it’s time to retire the pair. Don’t attempt to glue the rubber back on yourself, as this can change the shoe’s performance and create uneven edges.
Care and maintenance steps
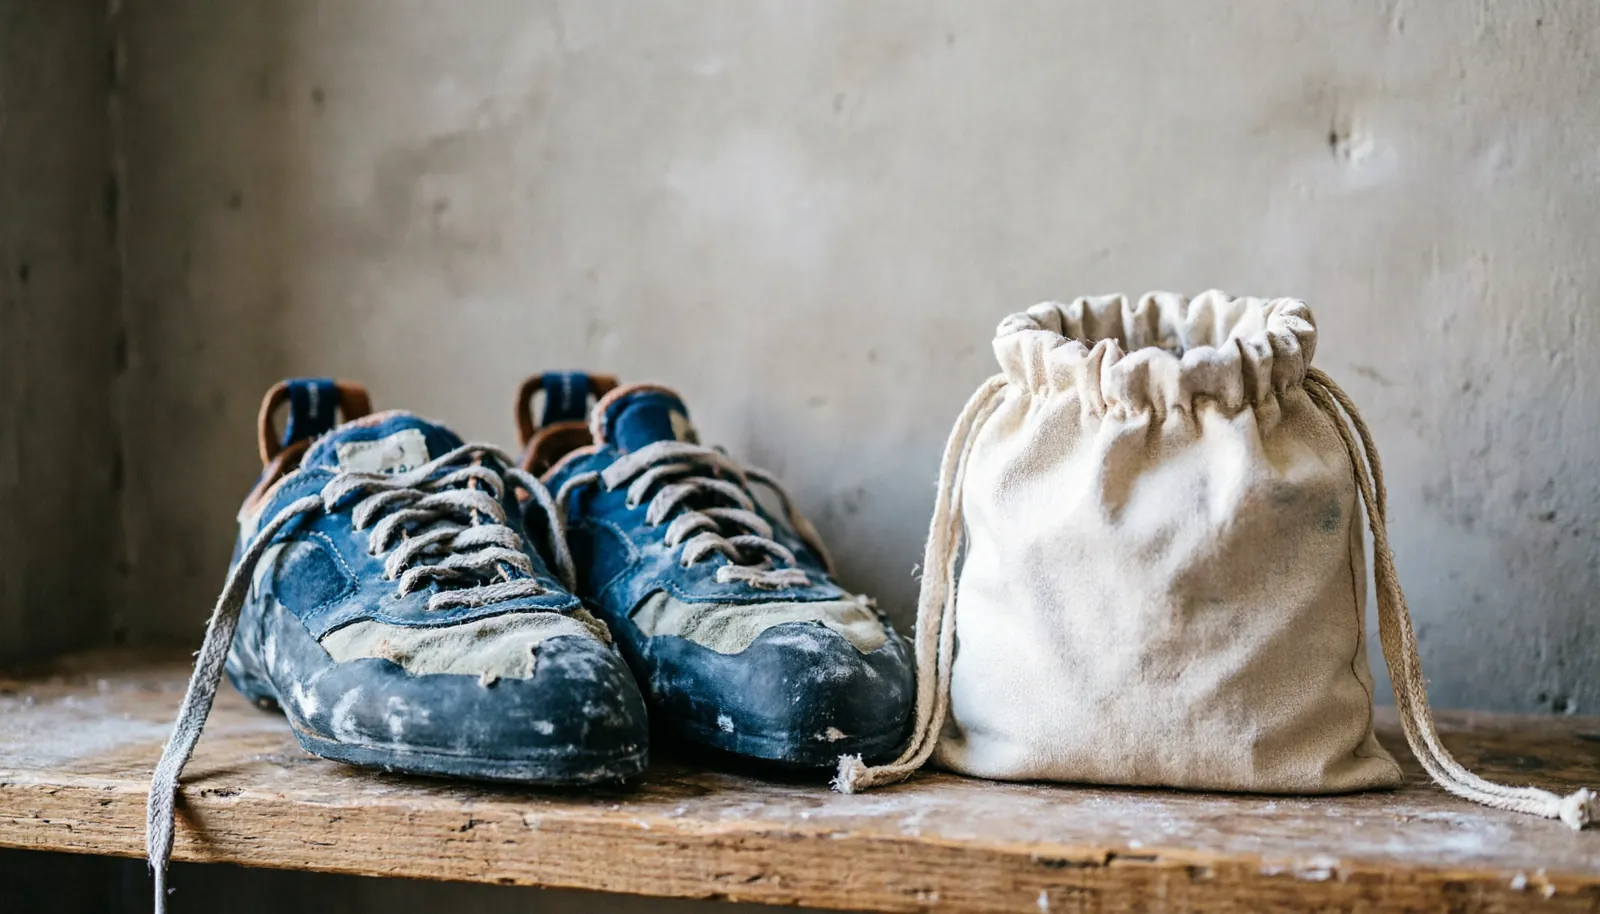
After a climbing session, always take your shoes out of your bag to let them dry. Moisture from sweat breaks down synthetic liners and causes odors to develop within hours. Store them in a cool, dry place away from direct sunlight, as UV rays harden and degrade the rubber compound, stripping away its friction.
Daily maintenance routine
- Unlace or loosen straps immediately after climbing to prevent material fatigue.
- Wipe the soles with a damp cloth to remove grit and chalk. If you skip this, fine dust acts as an abrasive, wearing down the rubber surface prematurely.
- Stuff them with newspaper if they’re saturated to draw out moisture. If you use a fan, keep it on a low, cool setting.
- Avoid leaving them in a hot car. Temperatures exceeding 120 degrees Fahrenheit can soften the adhesive, leading to delamination of the sole. If the rubber feels tacky to the touch, the glue is already failing.
Frequently asked questions
Should I wear socks while breaking in my shoes?
Wearing thin socks can help reduce friction and prevent blisters during the first few sessions. However, this will slightly change the fit, so move to bare feet once the shoes begin to conform.
How long does the break-in process take?
For most leather shoes, it takes about 5 to 10 gym sessions to feel fully comfortable. Synthetic shoes usually require much less time, often just 2 or 3 sessions.
Can I stretch my shoes by walking in them?
Walking around in climbing shoes can help, but it isn’t as effective as climbing. The pressure applied while standing on small holds is what actually molds the rubber to your foot.
Will heat help stretch the shoes?
Using a hair dryer on a low setting can make the material more pliable. Be very careful, as too much heat can ruin the glue that holds the shoe together.
Why does my heel slip out?
Heel slippage usually means the shoe is too large or the heel cup shape doesn’t match your foot. If this happens, you should try a different model rather than trying to force the fit.
Do I need to clean the rubber?
Yes, cleaning the rubber with water keeps it sticky. If the rubber becomes shiny or glazed with dirt, it will lose its grip on the wall.
Is it normal for my feet to hurt?
Mild discomfort is normal for tight climbing shoes, but sharp, shooting pain is not. If you experience numbness, take the shoes off immediately.
Should I buy shoes tight or loose?
You should buy them snug but not painful. They should feel like a firm handshake around your foot.
Conclusion
The bottom line is that your climbing shoes should fit snugly enough to provide support without causing injury. If you choose the right size from the start, the break-in process will happen naturally as you climb. Always prioritize a comfortable, secure fit over the desire to have the smallest shoe possible.
Related guides
- How to Wash a Climbing Rope Safely to Extend Its Lifespan
- Dynamic vs Static Rope: How to Choose the Right Climbing Line