How to Start Hangboarding Safely: A Beginner’s Plan
Hangboarding can build serious finger strength. It can also wreck your fingers if you rush it. The good news is that starting hangboarding safely as a beginner is simpler than most climbers think, and it doesn’t require much gear.
You’re not training max strength yet. You’re teaching your fingers to handle pulling force with control.
Here’s the part most guides skip. Your muscles get stronger in weeks, but your finger tendons and pulleys adapt much slower. That gap is where injuries live. A beginner who feels strong after a month and jumps to small edges is asking for a pulley strain.
This article covers what hangboarding really does, the main board and edge options, a one-minute check, a comparison of grip types, the limits, when to stop and see a pro, how to care for your setup, and answers to common questions.
Key Takeaways
- What Hangboarding Really Does to Your Fingers: Hangboards come in a few shapes. A simple wooden board with one or two edge sizes is the cheapest and often the best first pick.
- Types of Boards and Edges, and How to Pick: Hangboards come in a few shapes. A simple wooden board with one or two edge sizes is the cheapest and often the best first pick.
- The One-Minute Check Before You Buy or Mount: Before you spend money or drill holes, test whether your fingers can handle a hang at all.
- Open Hand vs Half Crimp: What Beginners Confuse: A hangboard builds finger strength. That’s it. It won’t teach footwork, body position, or route reading, and those skills often limit beginners far more than finger strength does.
- What Hangboarding Can’t Do: A hangboard builds finger strength. That’s it. It won’t teach footwork, body position, or route reading, and those skills often limit beginners far more than finger strength does.
- When to Stop and See a Pro: This is life-safety-adjacent gear for your hands, so treat finger pain seriously.
Recommended Products for Hangboard Training


What Hangboarding Really Does to Your Fingers
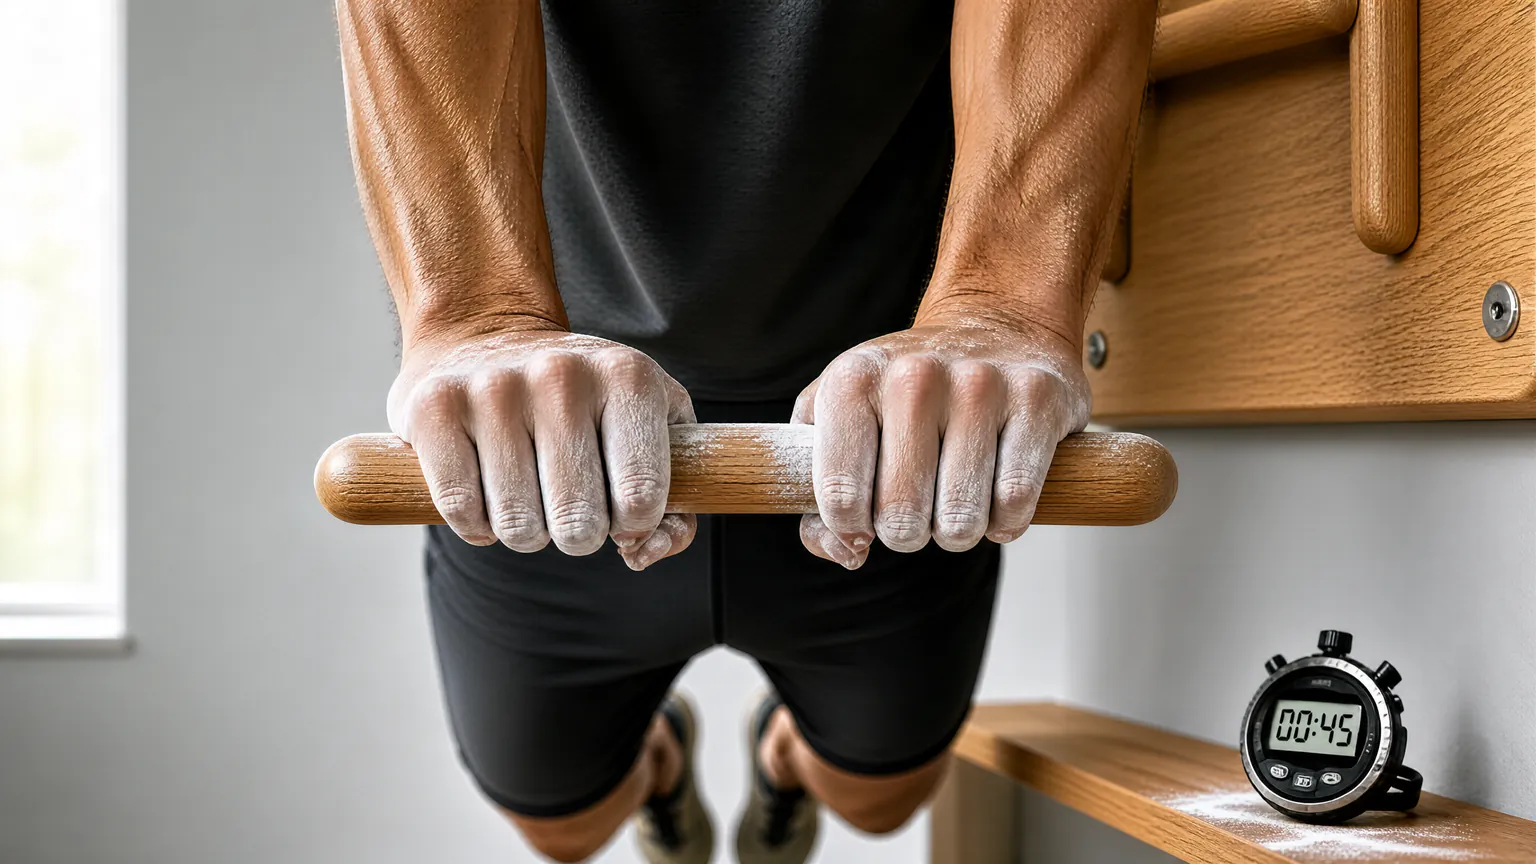
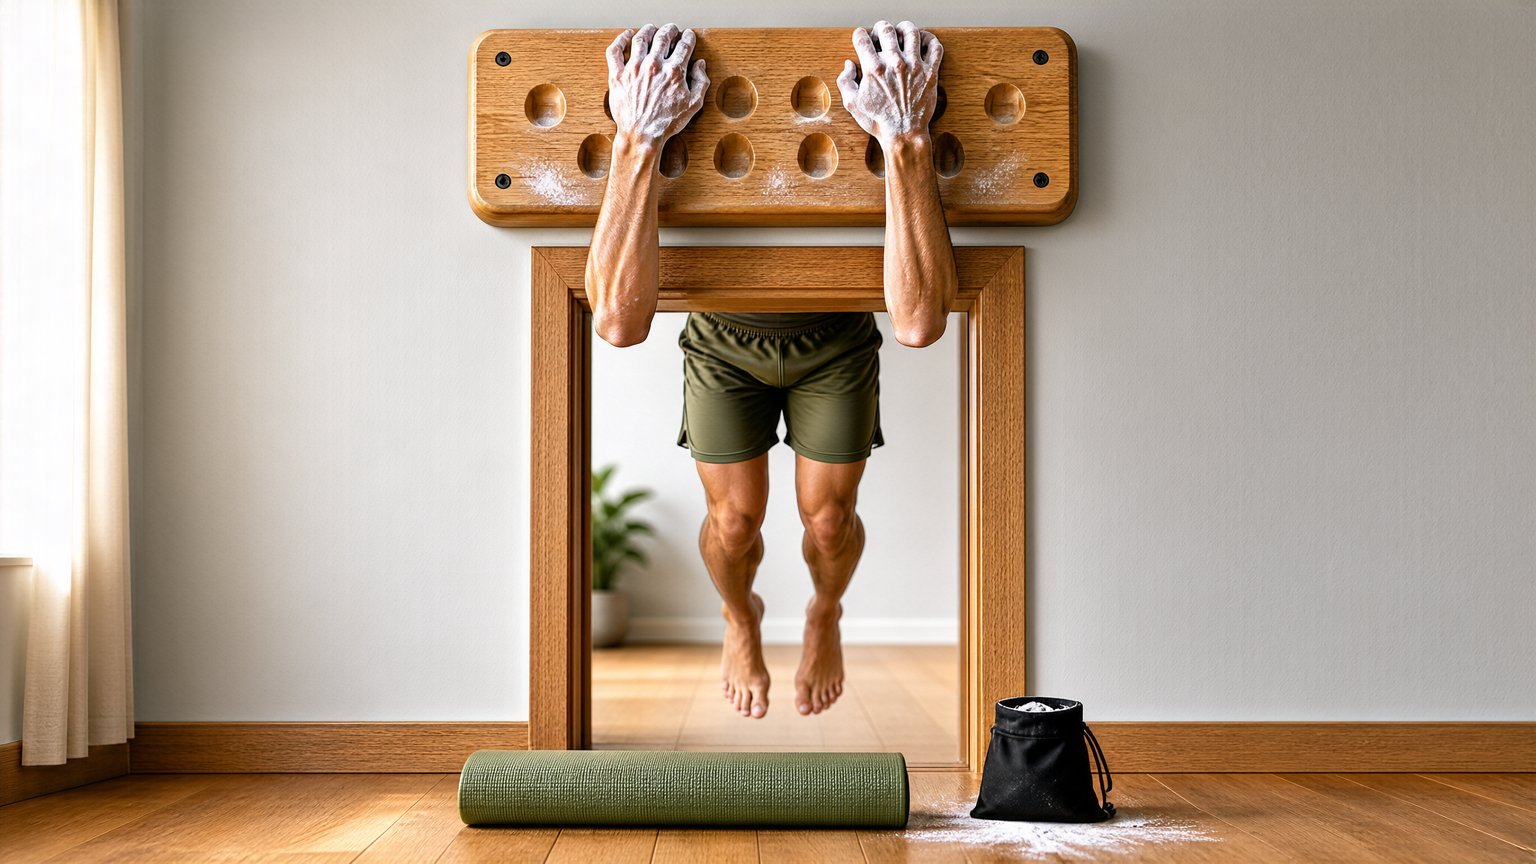
Hangboarding is a controlled pull on your fingers while your feet stay off the ground or rest lightly. You grab a fixed edge, called a rung or hold, and hang for a set number of seconds. The goal is to load your fingers in a repeatable way you can’t easily copy on a climbing wall.
The key terms are simple. “Edge depth” is how deep the rung is, measured in millimeters. “Open hand” and “half crimp” are finger positions. “Repeaters” are short hangs with short rests, done in a circuit. “Max hangs” are fewer, heavier hangs with long rests.
A big edge — usually 20mm or deeper — spreads the load across more of your finger. A small edge concentrates force on the pulleys and tendons. For a beginner, depth is the dial that matters most, more than added weight.
If a board or grip claims a safety rating, it should follow a recognized standard. Climbing gear like carabiners and harnesses carries the UIAA 121 standard or the CE EN 12275 mark, but hangboards themselves are training tools and usually aren’t certified that way. Treat any board as equipment, not as a safety device.
Types of Boards and Edges, and How to Pick
Hangboards come in a few shapes. A simple wooden board with one or two edge sizes is the cheapest and often the best first pick. Plastic boards with many pockets and slopers look exciting but tempt you to try holds your fingers aren’t ready for.
Wooden edges feel kinder on skin and give consistent friction. Resin or plastic holds can be slicker and vary more between batches. For a beginner, a plain wooden board with a 20mm edge is plenty.
Adjustable boards let you change edge depth as you get stronger. That’s handy, but it also lets you shrink the edge too fast. A fixed 20mm board removes that temptation.
The trade-off is real. A cheap single-edge wooden board costs less and does the job. An adjustable board costs more and adds flexibility you probably won’t need for a year. If money is tight, buy the simple one. If you climb in a gym with a fixed board already on the wall, use that and save the money entirely.
What to Look For
- Edge depth around 20mm for starting
- Smooth, rounded edge that won’t cut your skin
- Stable mounting so it doesn’t flex or spin
- Room for both hands without crowding
The One-Minute Check Before You Buy or Mount
Before you spend money or drill holes, test whether your fingers can handle a hang at all. This check tells you if you’re ready to start or if you should keep climbing easy routes for a few more months.
- Find a sturdy edge about 20mm deep, like a door frame ledge or a gym board.
- Place both hands in an open-hand grip, fingers straight, not crimped.
- Lift your feet and hang for 10 seconds with straight arms.
- Note any sharp pain, popping, or numbness in the fingers or palm.
If you feel a dull stretch, that’s normal. If you feel sharp pain or a pop, stop and don’t start a program. If 10 seconds feels easy and pain-free, you’re ready for light hangs.
Open Hand vs Half Crimp: What Beginners Confuse
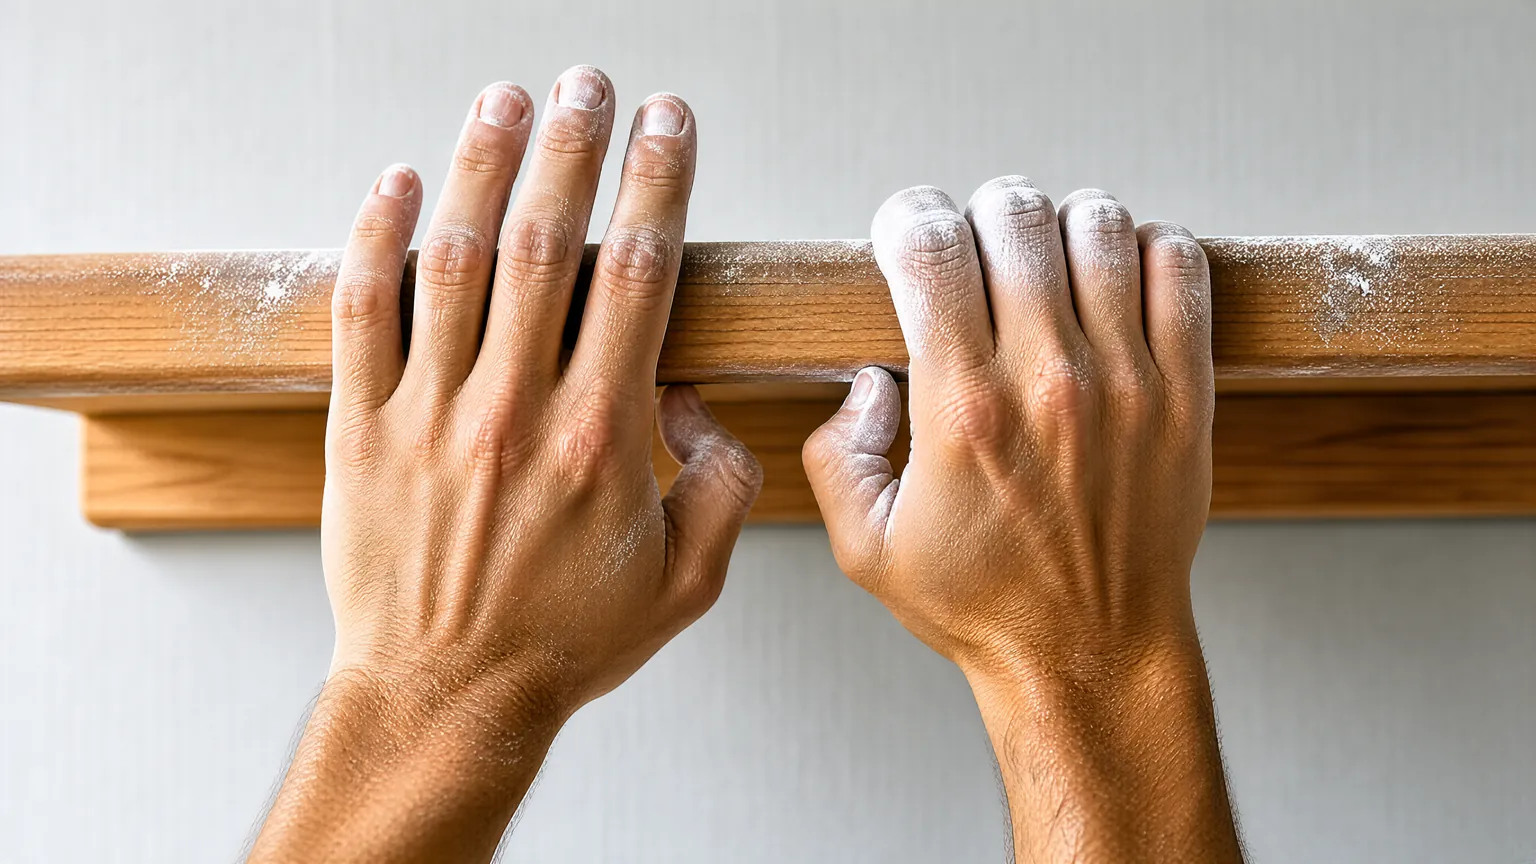
The grip position is where most new hangboarders go wrong. People mix up “open hand” and “half crimp” and assume the crimp is stronger, so it must be better. It’s stronger, but it loads the pulleys harder.
Here’s the comparison:
| Feature | Open Hand | Half Crimp |
|---|---|---|
| Finger shape | Fingers straight or slightly bent | Fingers bent at the middle joint |
| Pulley load | Lower | Higher |
| Strength gained | Broad, joint-friendly | Specific to crimpy routes |
| Injury risk for beginners | Lower | Higher |
| When to use | First 6-12 months | After a base is built |
For a beginner, train open hand almost all the time. It builds strength with less stress on the A2 pulley, the ring-shaped band that tears most often. Add half crimp only after a year of consistent, pain-free training.
If you climb mostly on slopers and open holds, open hand matches your goals anyway. If you’re chasing hard crimpy routes, you’ll need half crimp eventually — just not in month one.
What Hangboarding Can’t Do
A hangboard builds finger strength. That’s it. It won’t teach footwork, body position, or route reading, and those skills often limit beginners far more than finger strength does.
Marketing loves to promise “elite finger strength in 8 weeks.” Real tendon adaptation takes months, not weeks, and no board changes that biology. Claims of fast, dramatic gains usually describe trained athletes, not beginners.
The evidence for exact protocols is also thinner than the confident charts suggest. Researchers like Eva López have studied hangboard training, but sample sizes are small and results vary between climbers. Treat any program as a starting point, not a guarantee.
Watch what actually happens in your first month. If your fingers feel stronger but your climbing hasn’t changed, the board isn’t your limiter. If you’re falling on moves your fingers can hold, the problem is elsewhere: foot placement, hip position, or reading the sequence too late.
Beginners get hurt here more than anywhere else. Tendons and pulleys adapt slower than muscle, so a new climber can add load their fingers can’t yet tolerate. Full crimp on a small edge, added too soon, is the classic injury.
If you climb less than twice a week, spend that time on the wall instead. Hangboard work earns its place once you climb regularly and your footwork holds up on hard moves.
When to Stop and See a Pro
This is life-safety-adjacent gear for your hands, so treat finger pain seriously. A certified climbing instructor or a sports physiotherapist who works with climbers is who you go to when something feels wrong.
Retirement and inspection points for your board:
- Check for cracks, splinters, or worn edges every few months
- Replace wooden boards that have softened or splintered
- Tighten mounting bolts before each session
- Retire any board with a cracked or flexing base
Red flags that mean stop training and get help:
- A pop or snap in a finger during a hang
- Sharp pain that lasts more than a day
- Swelling, numbness, or a finger that won’t bend
- Pain that returns every session in the same spot
Manufacturers of climbing gear often publish lifespan guidance for their products, and while hangboards aren’t rated like ropes, the same care applies: inspect, replace when worn, and don’t push through pain. If a finger hurts, a blog can’t diagnose it. A physio can.
How to Use and Care for Your Setup
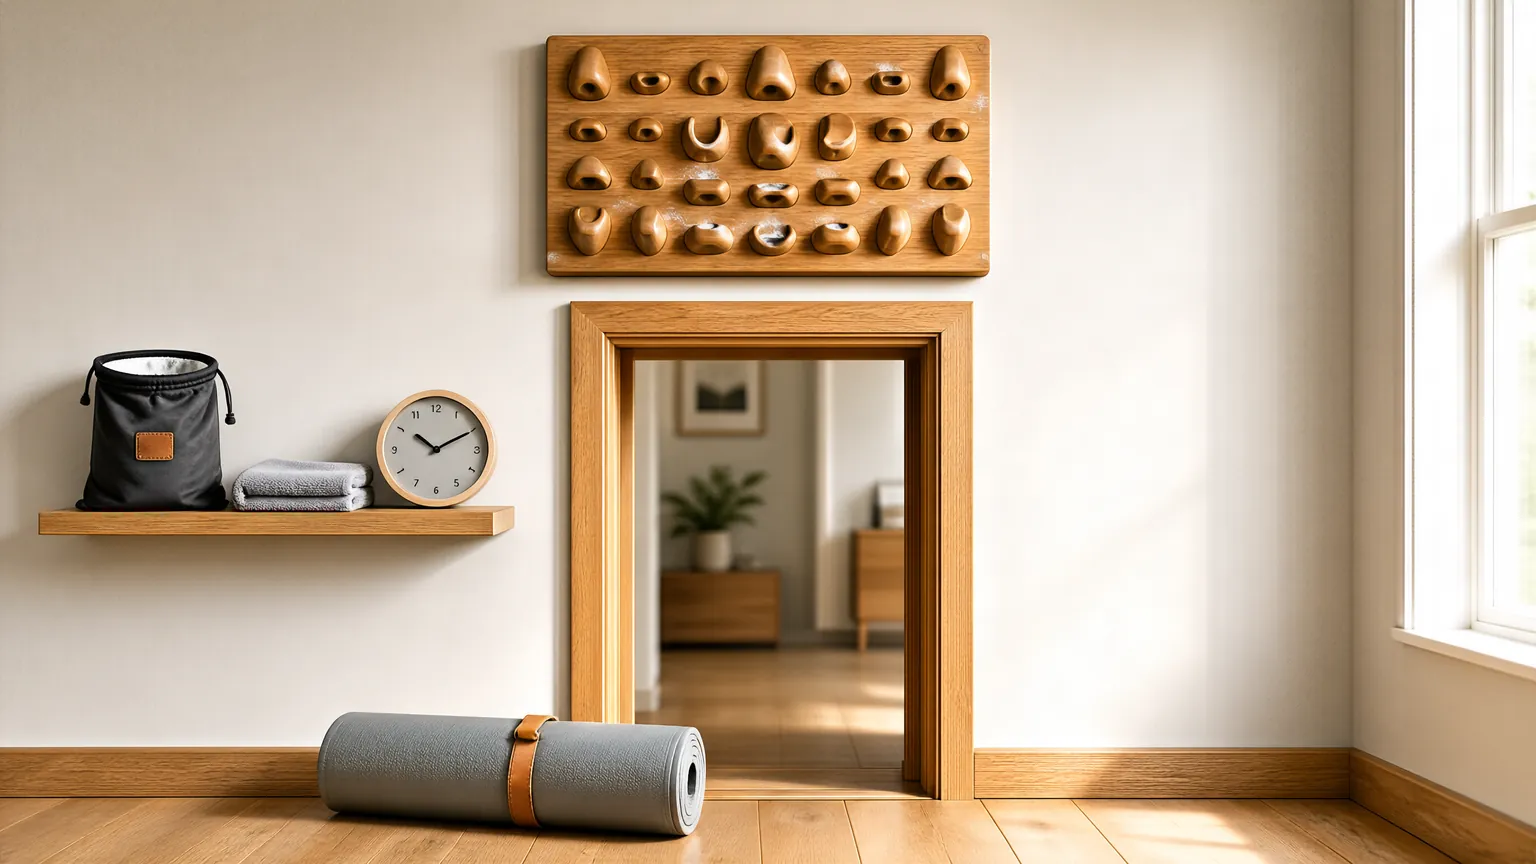
Start with two sessions a week, never on back-to-back days. Warm up first with 10 minutes of easy climbing or light finger movements. Cold fingers tear more easily.
A simple beginner session looks like this:
- 5-10 minutes of easy climbing to warm up
- 3 sets of 10-second hangs on a 20mm edge
- 2 minutes rest between sets
- Stop while you still feel fresh
Add weight or shrink the edge only when 3 sets feel easy for two weeks straight. When you do add weight, add 2.5 pounds at a time, not 10.
Store your board indoors, away from damp and direct sun. Wipe it with a dry cloth after sessions to remove chalk and skin oil. Check the mounting screws monthly, and never hang on a board that flexes or creaks.
Related guides
FAQ
How long until I see results from hangboarding?
Most climbers notice finger strength gains in 8 to 12 weeks of consistent training. Tendon changes take longer, often several months. Be patient and don’t chase fast progress.
Can I hangboard every day?
No. Your fingers need 48 hours between hard sessions. Two sessions a week is plenty for a beginner, and more isn’t better.
Is hangboarding safe for beginners?
Yes, if you use a big edge, low load, and open-hand grip. The risk comes from small edges, heavy weight, and crimping too early.
What edge size should a beginner use?
Start with 20mm or deeper. Shrink the edge only after months of pain-free training. Smaller edges load the pulleys much harder.
Do I need a hangboard to get stronger fingers?
No. Climbing regularly builds finger strength too. A hangboard just adds controlled, repeatable loading when you want more.
Should I hang with straight arms or bent?
Straight arms, with shoulders engaged slightly. Bent arms add tension and change the load. Keep it simple and controlled.
What if my fingers hurt after hanging?
Stop and rest. If pain lasts more than a day or comes with a pop, see a physio who works with climbers. Don’t train through it.
Can I hangboard if I only climb once a week?
You can, but recovery and consistency matter. Two climbing or training days a week works better than one hard day followed by six off.
How much weight should I add?
Start with bodyweight only. Add 2.5 pounds at a time once 3 sets feel easy for two weeks. Never jump straight to heavy added weight.
The Bottom Line
The key decision is when to start, not how hard to go. Wait until you’ve climbed for a while, test with the one-minute hang, and begin with a 20mm edge and open-hand grip. Add load slowly and stop at the first sign of sharp pain.
If you can hang the 20mm edge for 10 seconds with no sharp pain, you have the tendon base to start. If you cannot, keep climbing and retest every few weeks. That single test settles the question better than any training plan.
The single most important takeaway: your tendons adapt slower than your muscles, so the safe path is boring on purpose. Big edge, short hangs, low weight, two sessions a week.
The mistake is adding weight because the hangs feel easy. Easy hangs are the point. A dull ache that fades by morning is fine; anything sharp, or pain that lingers into the next session, means you drop the load back and hold there for two weeks. Do that for a few months, and you’ll build a base that lasts.